When we last left off, I had just gotten the Lady Jane back into the garage after getting the bottom done right on the tail end of the last of the good weather we had for outdoor work here in the Pacific Northwest.
I haven’t been doing many updates, but not due to lack of progress. Huge life changes are in the works, and a failed hard drive conspired to keep me from updating.
First off- the house we’ve rented for ten years was sold this summer to a developer, and will be torn down for condos. We’d been fortunate to have little in the way of rent increases, and as a result we are priced out of a similar set of accommodations in Seattle’s current rental market. Right after my last update we received notice, and we’re going to have to move. We did receive some relocation assistance cash from the city, so at least there’s that. We realized we needed to either sell our Catalina 30 so we could use the money we spent on moorage to afford a new place, or we needed to sell the Catalina 30 and double-down on a bigger boat and go liveaboard.
We’ve doubled down.
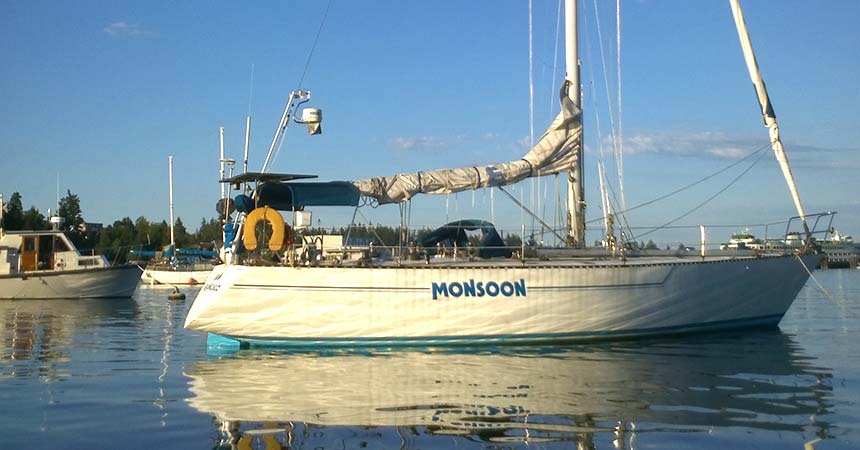
We are now the proud owners of ‘Monsoon’. R2AK racers and tracker junkies may recognize that name; this boat is the 40-some odd foot aluminum IOR race boat designed by Doug Peterson that currently holds the record for ‘Most tonnage over the line’ at Ketchikan. That’s right. We’ve bought a veteran R2AK race boat for our new house. Yes, I’m starting to wonder if I’m accidentally obsessed. My house has done the R2AK, and I’ve now worked for two different title sponsors.
The date is set; Feb 1st we plan to be moved on board.
However, AAAAHHHH! one month to get the Lady Jane finished to a point where she can be stored or moored!
It’ll be a mad rush to get the Monsoon ready for us, to shed most of our possessions, and also finish the Lady Jane. If anyone has any ideas for a reasonable workshop to stash her at for February for finishing touches in case I miss our deadline PLEASE let me know, either email, in the comments, over smoke signals, semaphores, etc.
But on to the Progress report!
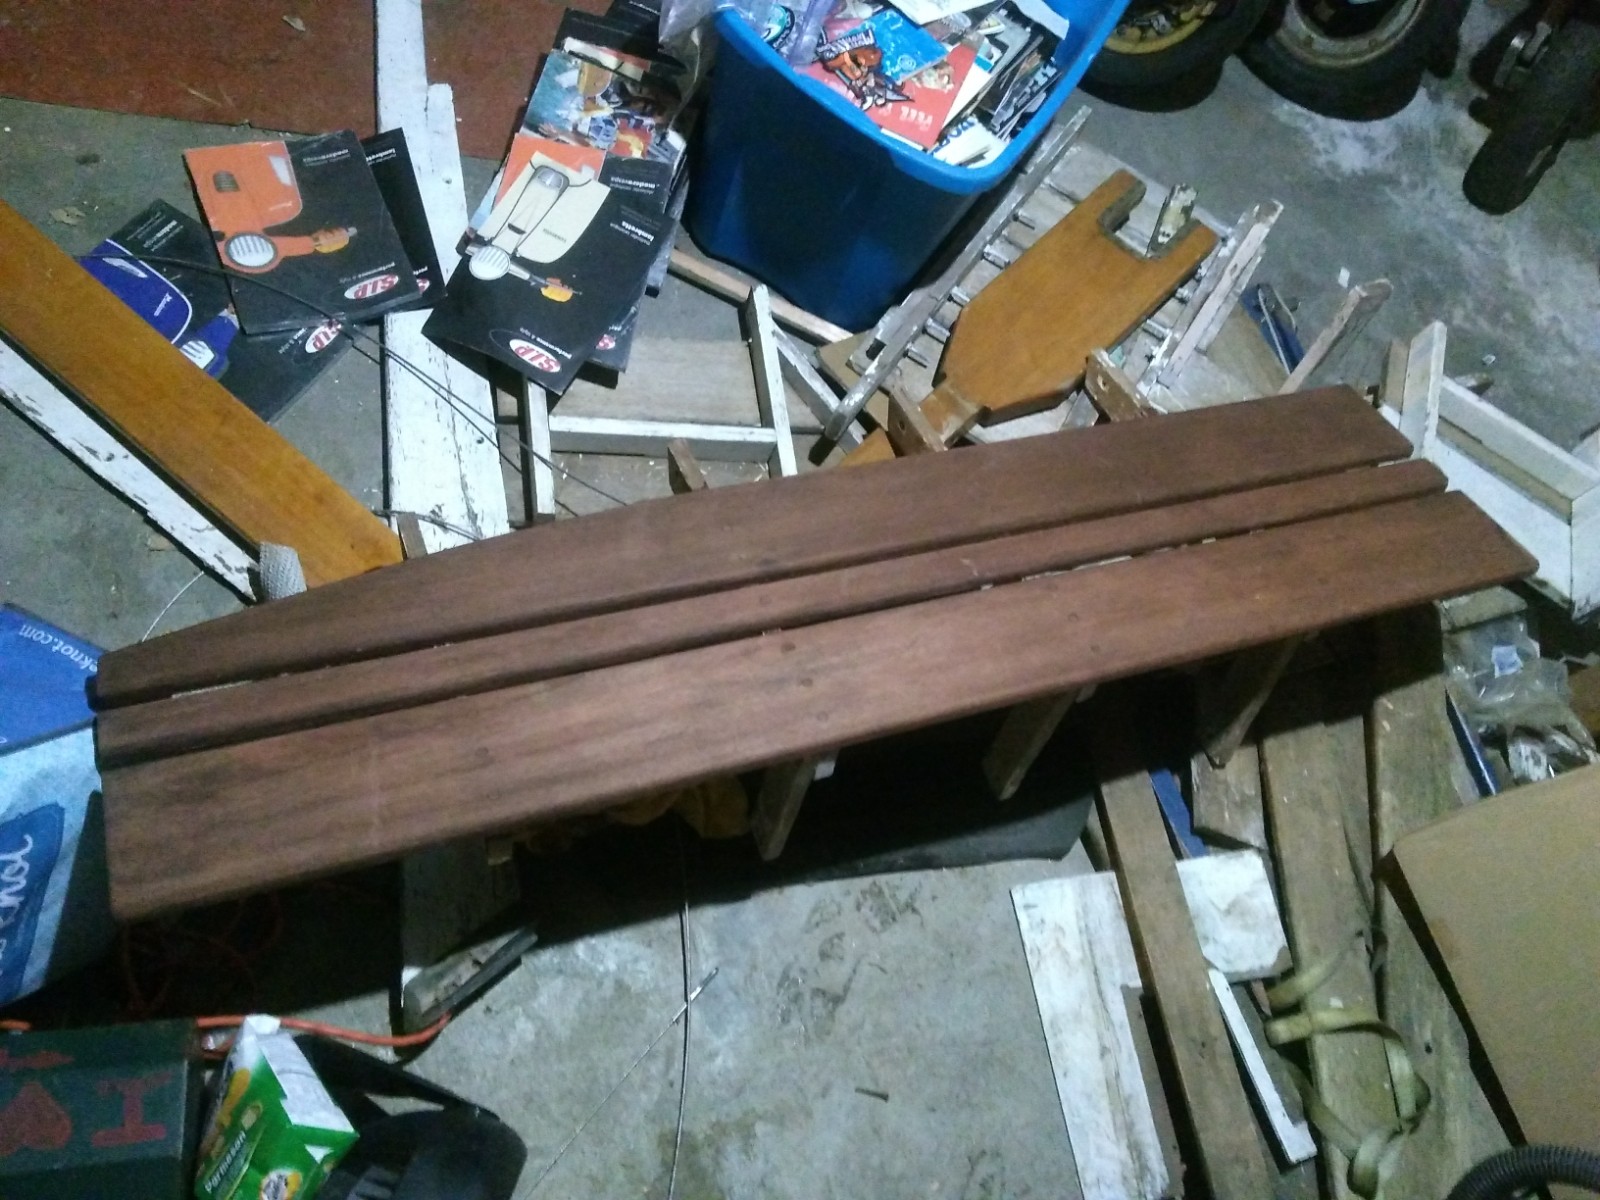
The mahogany benches are coming along nicely. Striped, sanded and stained. These are going to look amazing once they are varnished.
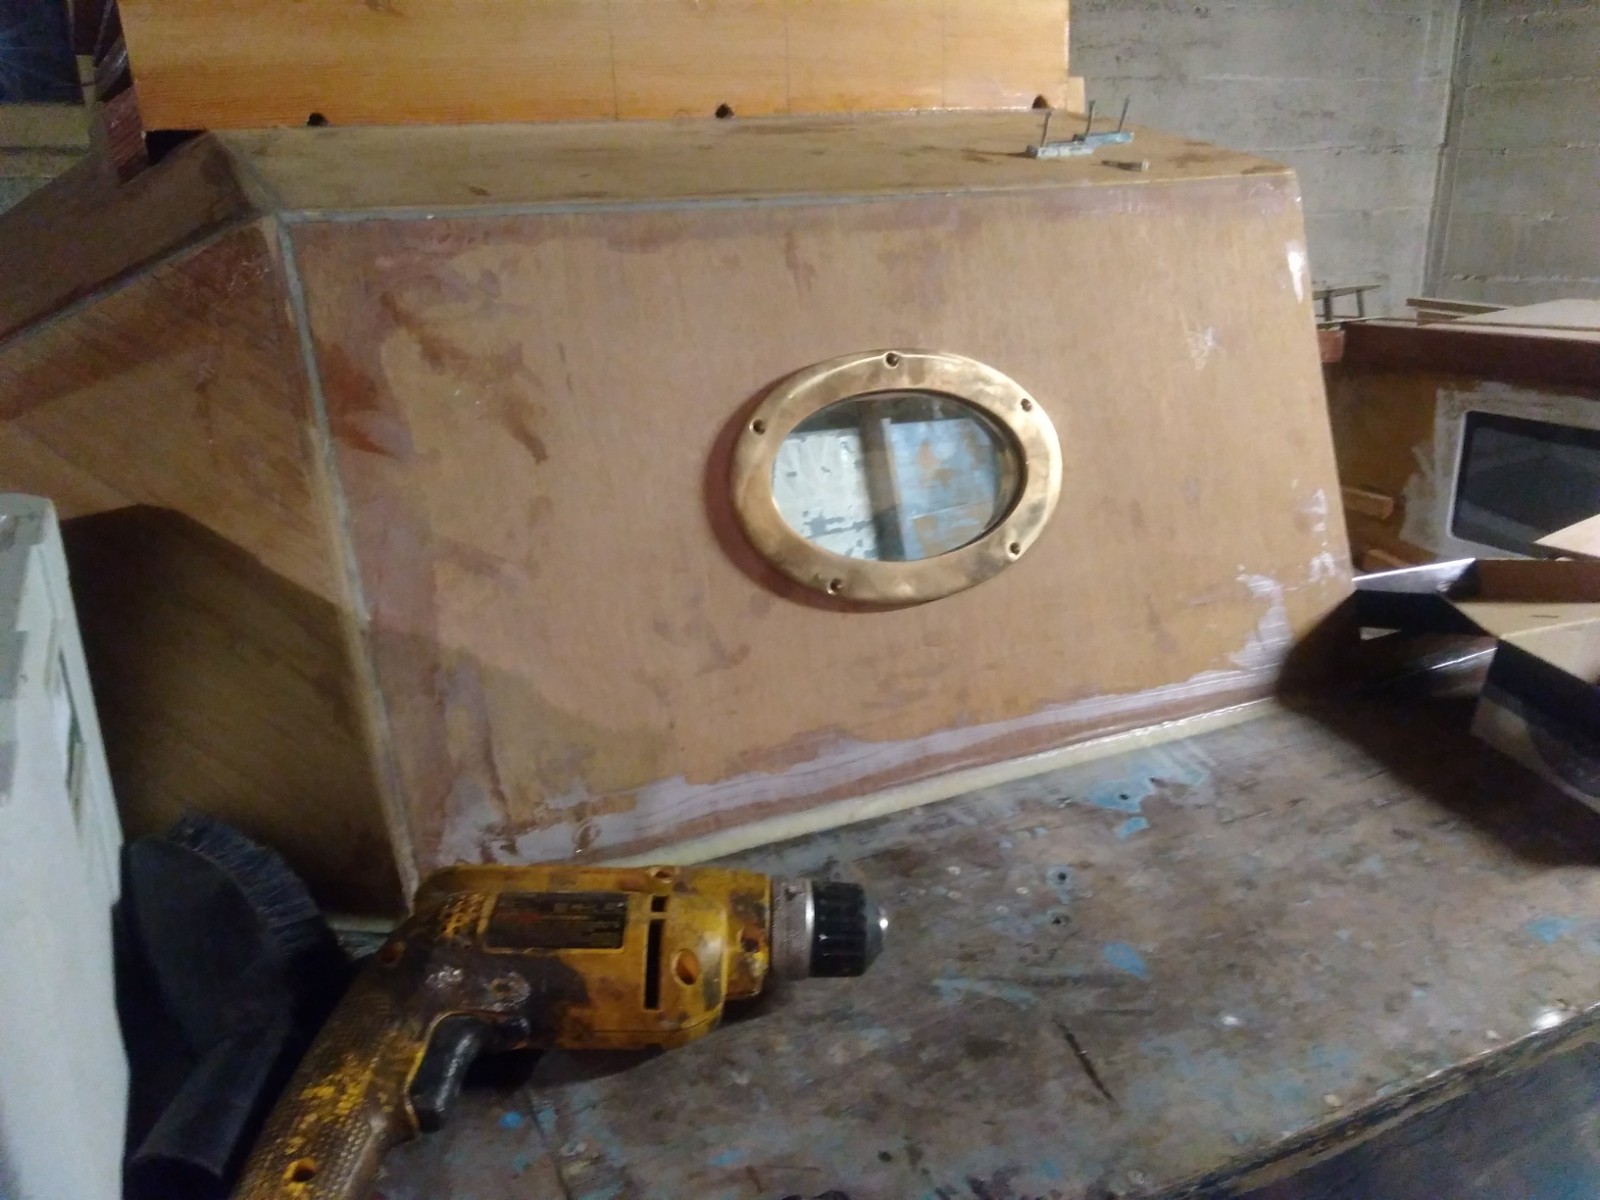
Next, Since I had eliminated the splash guard when I added the cabin, I had to add a mast collar for a boot to grab on to. The bottom layer has a bevel on the sides, to give a boot something to grab on to. i’m leaning neoprene sleeve, but haven’t committed to the idea yet.

Oh, and The mahogany coming is in. The sides are 60 year old bits, cut down from the original ones the boat came with. stripped, sanded and stained. Again, will look amazing once varnished.
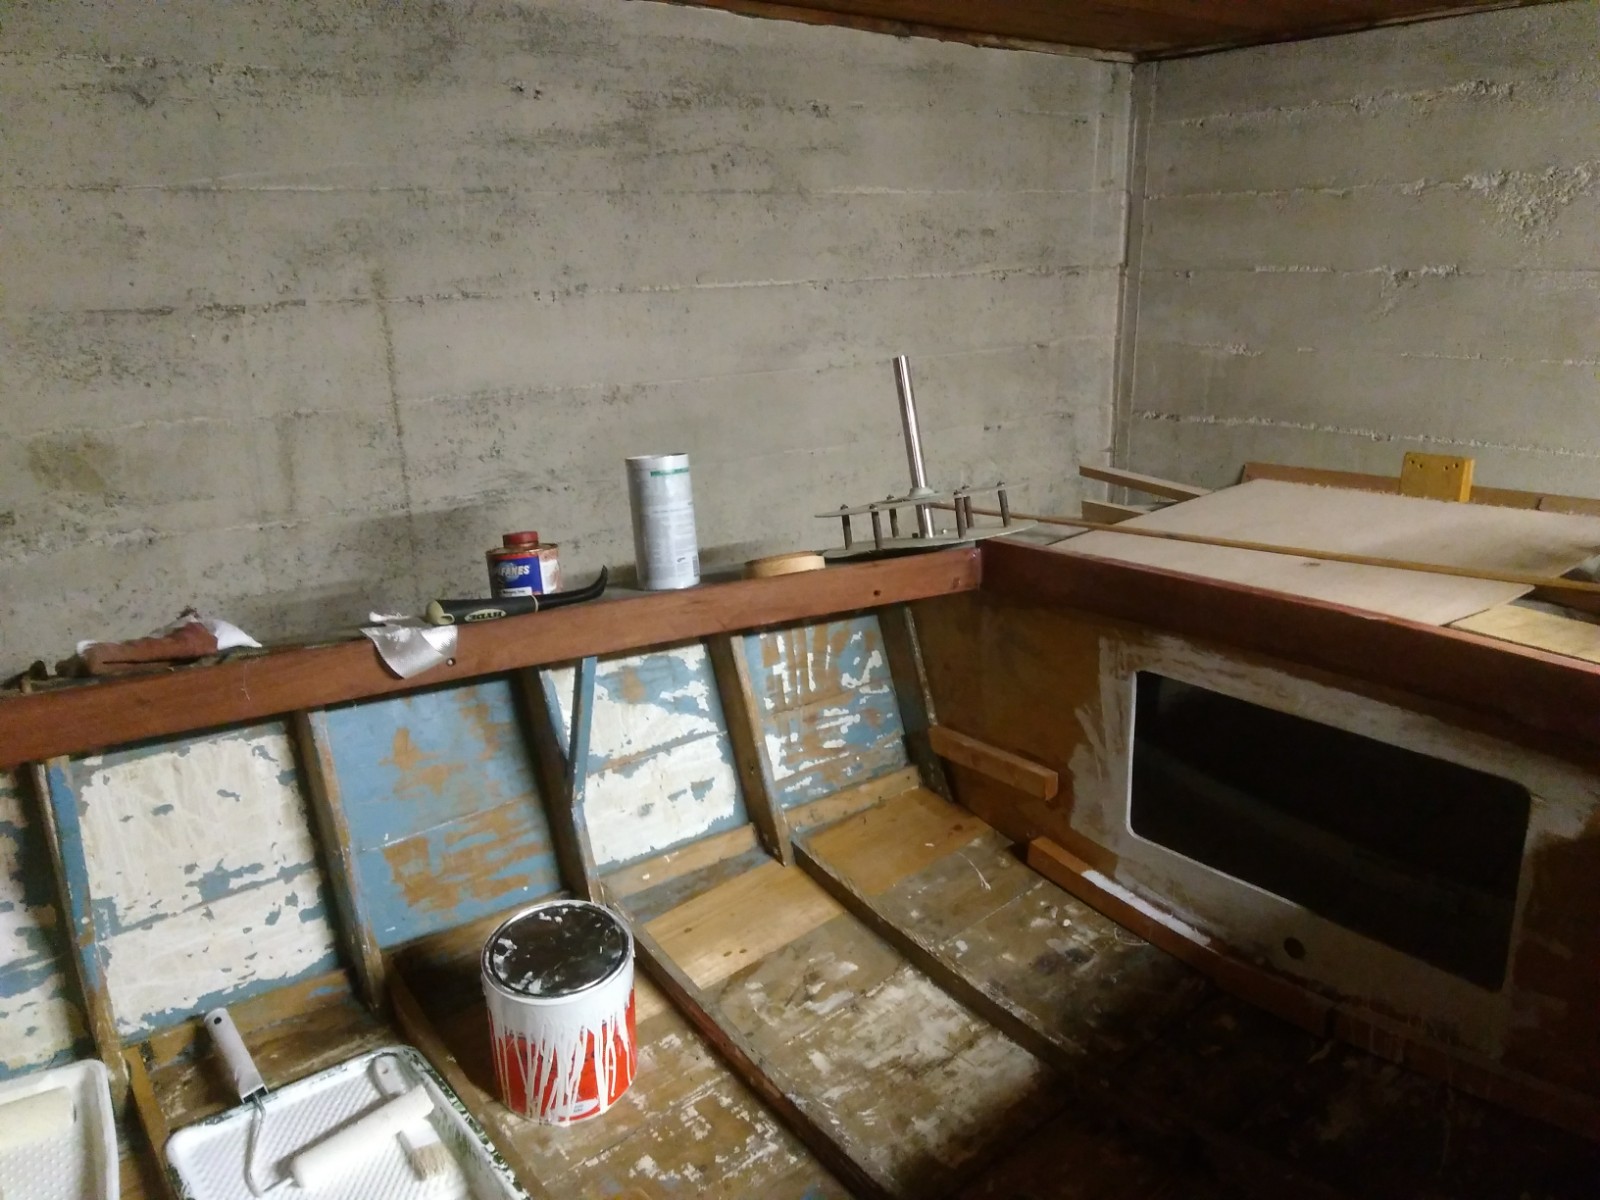
The rear is a new piece of mahogany from Limback Lumber in Ballard. It’s epoxied to the aft watertight bulkhead. While the corner tie in to the side pieces could be better as it doesn’t cover the endgrain of the plywood, I’m fairly happy with it. the top of this piece will get a 1″ wide quarter oval in brass to cover the edge of the plywood and form the top of the combing. This is higher than the side combing. The tiller will also get a piece of quarter oval so it will slide brass-on-brass on this raised rear combing.
The aft water tight compartment and the cabin interior have gotten a coat of Bilgekote paint.
It really soaked this up; I went thru nearly a full gallon and will need to give it at least one more coat.
The side portholes have been cut and these Davey & Co bits should look gorgeous once the rest of the boat is painted.
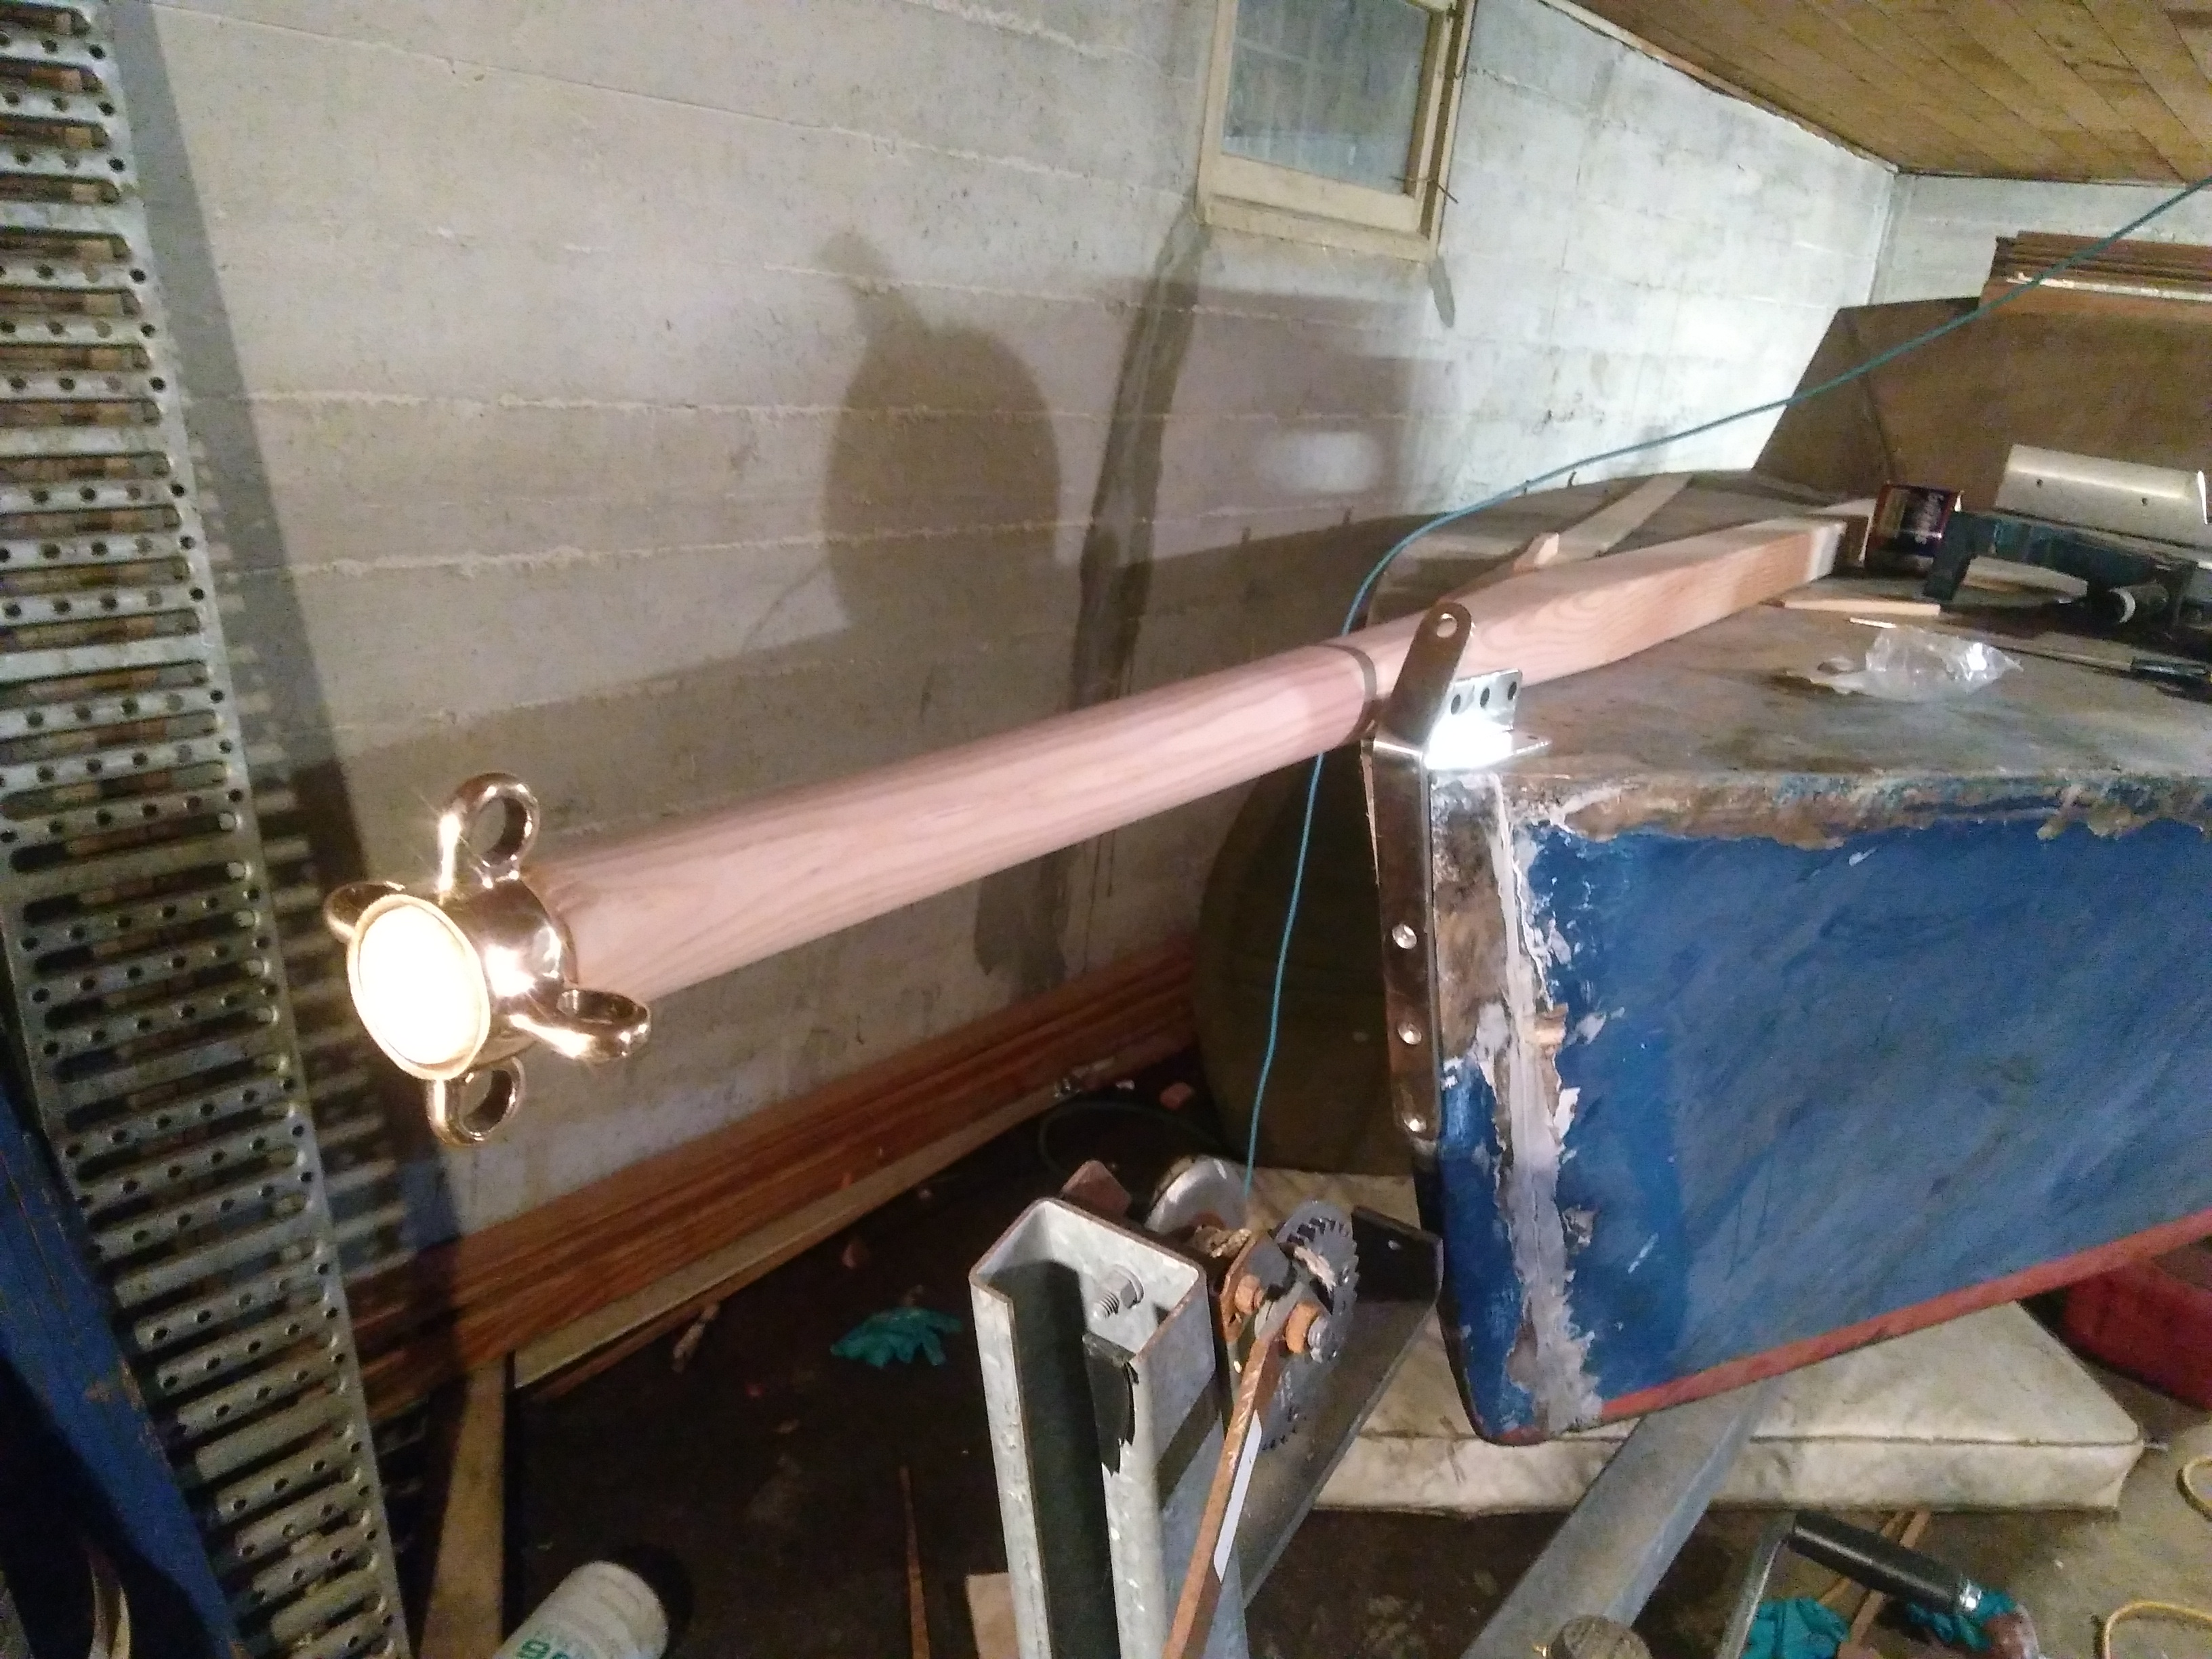
I have finished making the bowsprit.

I have a 4-lug mast band for it, also from Davey & Co, but after making the piece and looking at it on the boat I think I will exchange this for a 2-lug one and just have a bobstay with no side stays. Any opinions?
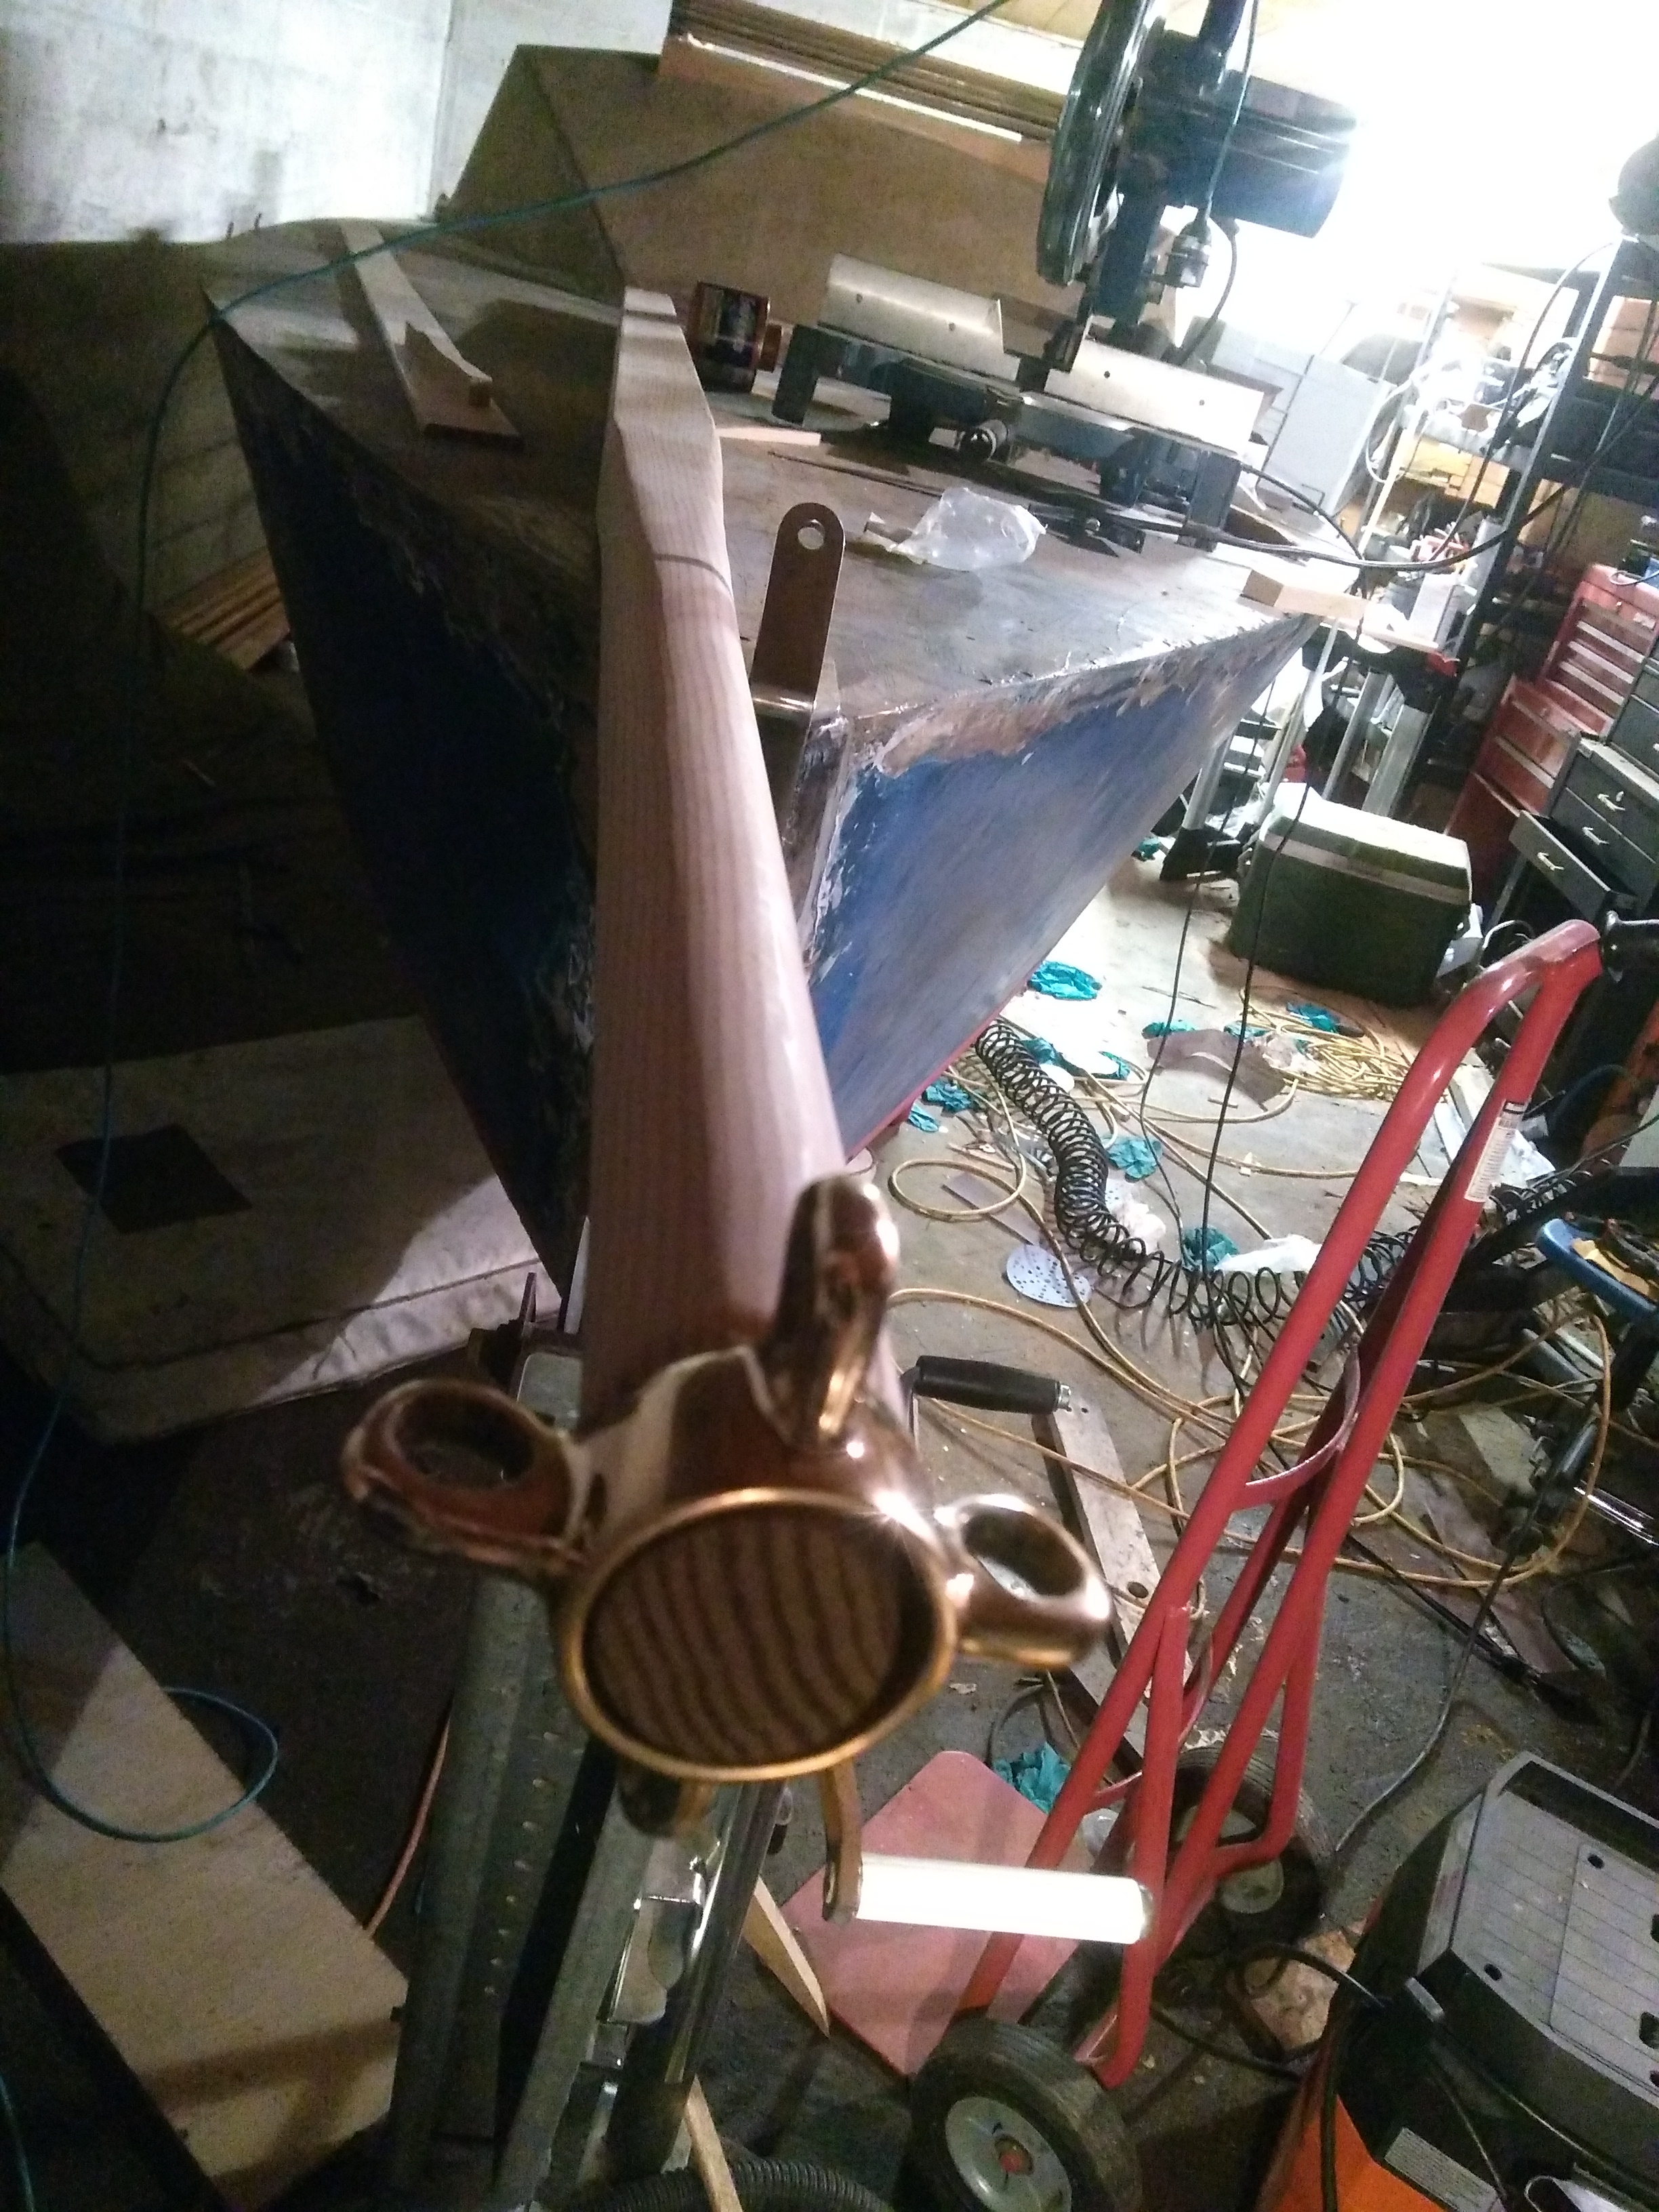
I was nervous about making this, but it went terribly well and I am very pleased with it. I didn’t do the usual ‘Spar gauge’ tricks. I began by ripping the 2.5″ x 2.5″ piece of doug fir to 2.5″ x 2″ on the table saw, then marking the end to be 1.75″x1.75″ and marking the end of the taper. I struck two lines for the sides from these marks to the end of the taper, then cut it with a band saw. for the top and bottom, the taper is all on the top as i wanted to keep it low and it just was easier that way. after cutting it on the band saw, i then sanded it with a Festool RO150 orbital sander, to even out the taper a bit. By eye and freehand, i then cut it to an 8-sided piece using a harbor freight power planer. once it was fairly even and 8 sided, i went 16 sided in the same manner. From there, it was all 80 grit on the Festool RO150 6″Orbital to make it round and even it out then I hit it with 180.
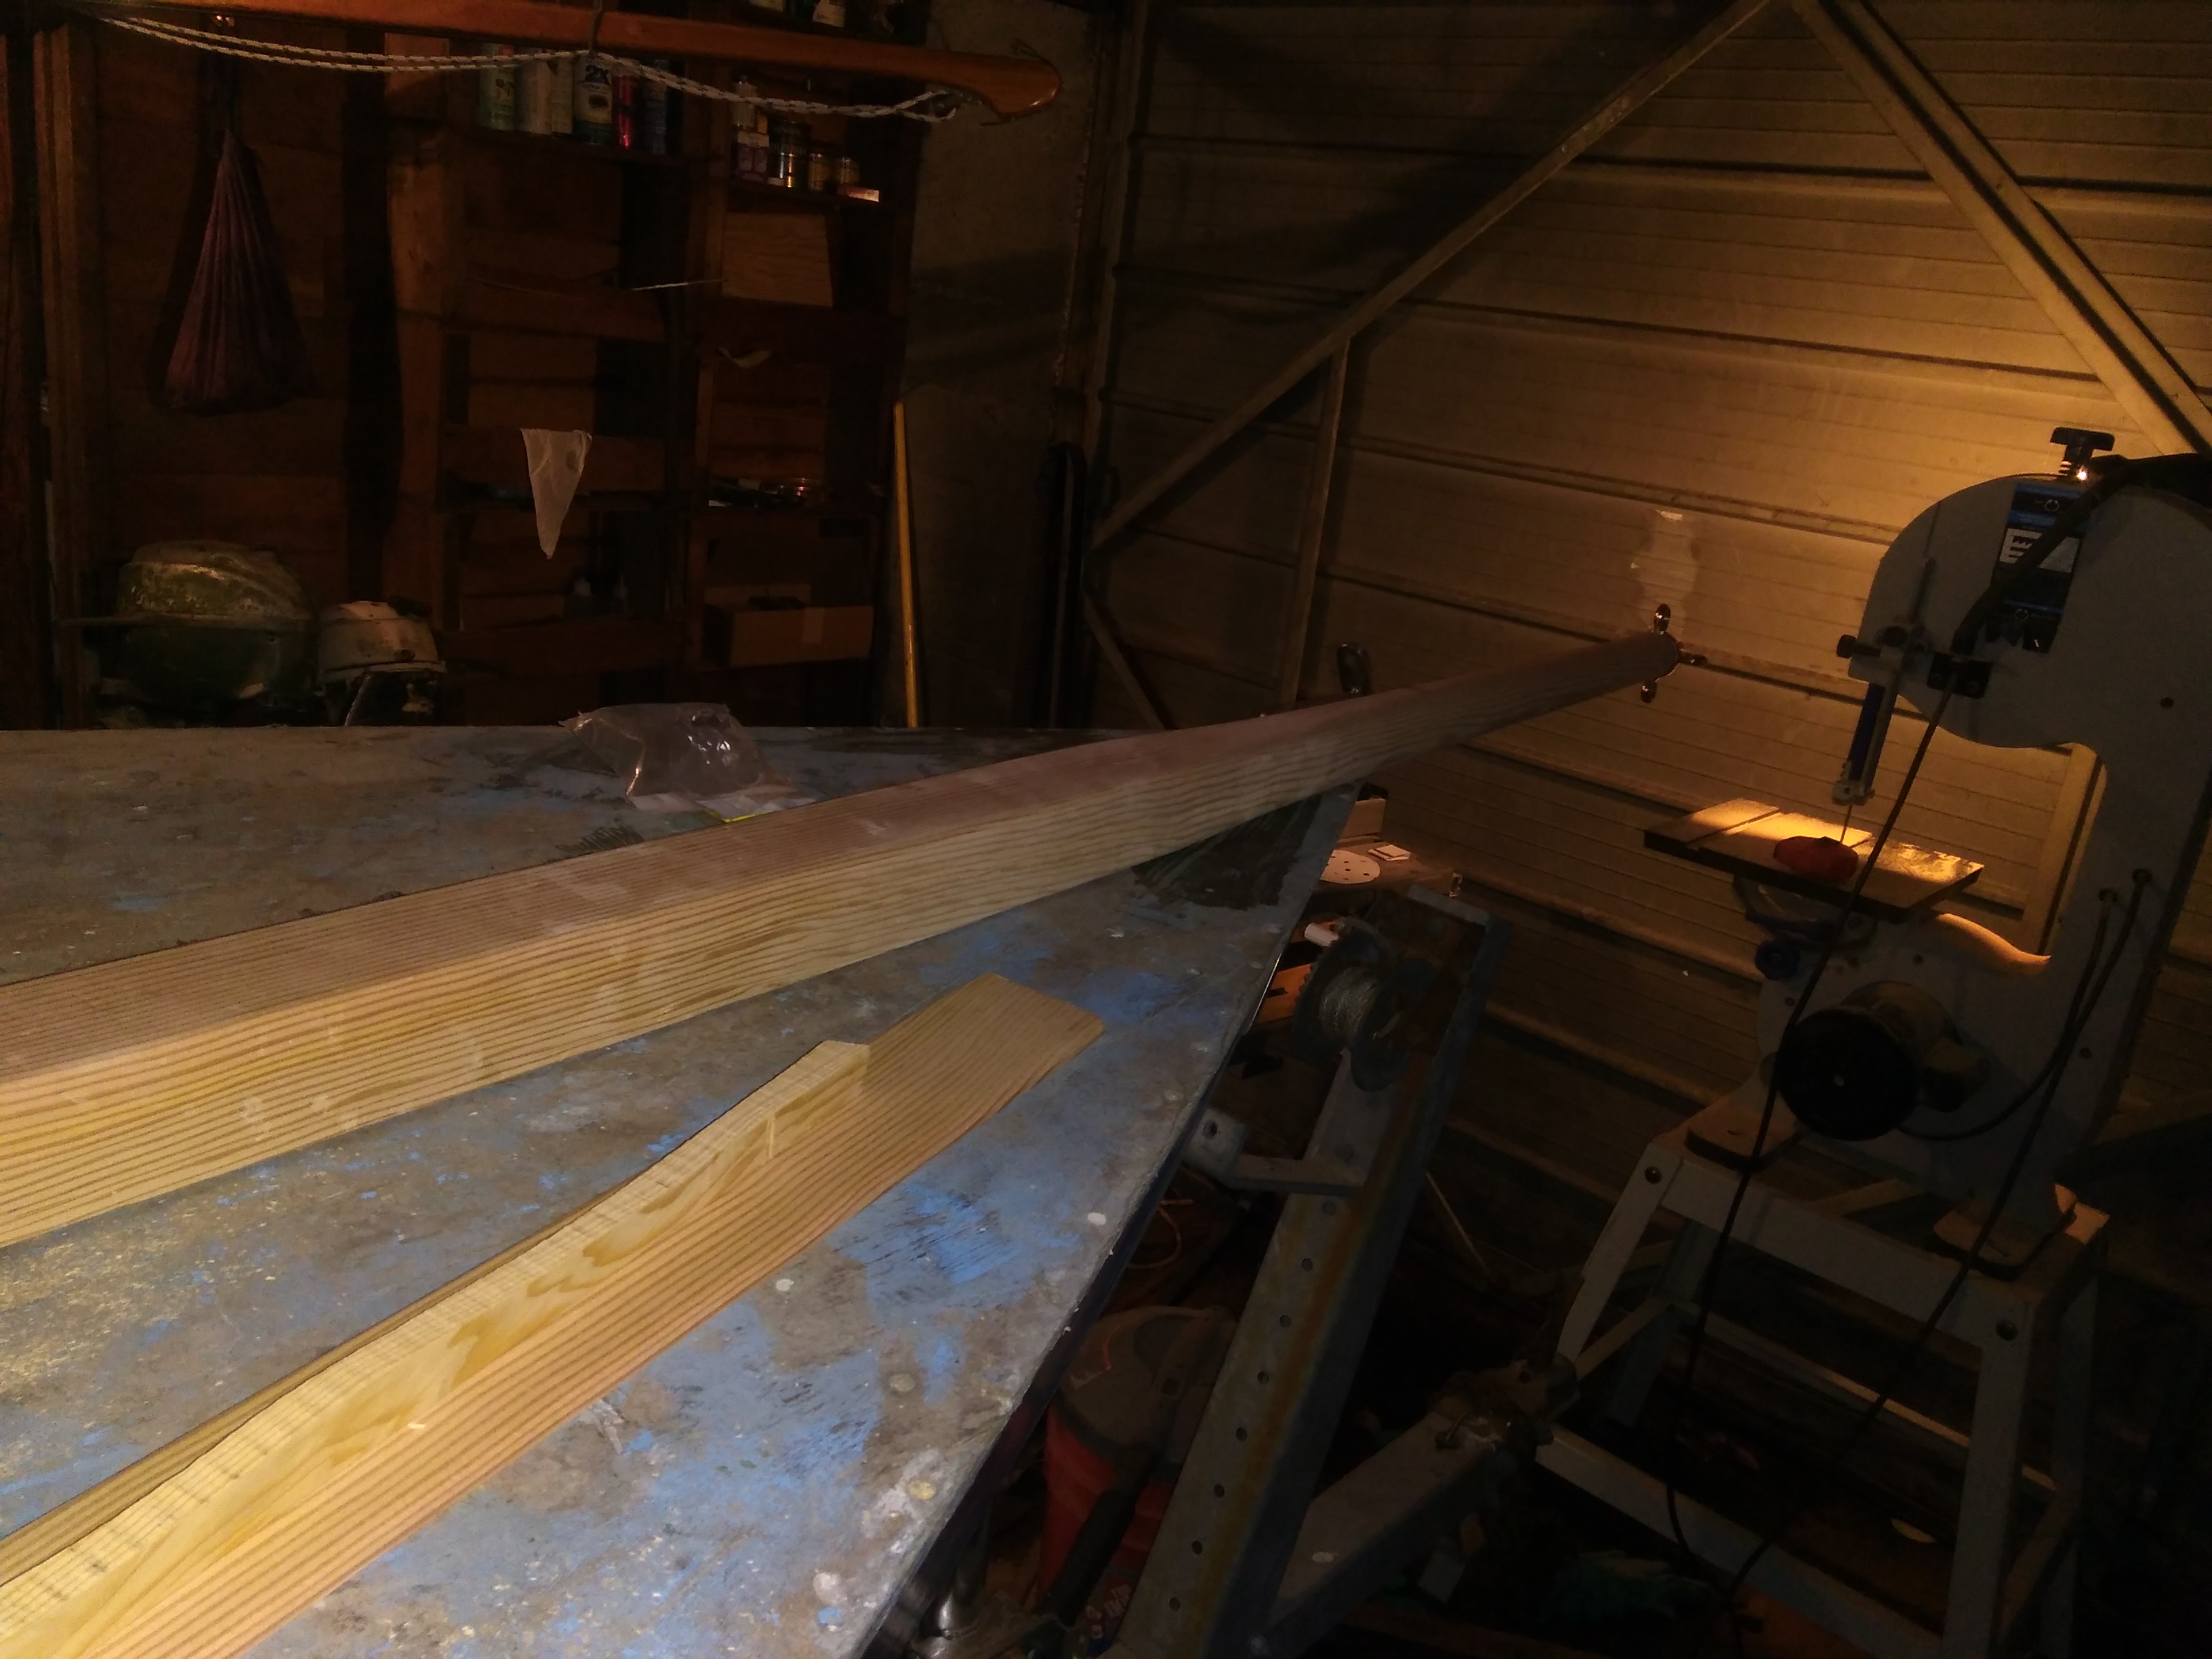
After that was done, I used masking tape to mark where I needed the step for the mast band. I then cut around the spar with a utility knife so I had a good line, removed the tape, then started with a chisel. Once I had the step, I started to floss with a longboard piece of 100 grit Abranet. Flossing it back and forth, I worked it till it fit the mast band, then gave it a few strokes with some 180 grit. I was worried at first, but it all came out wonderfully. This will be held to the deck with two 2″ square U-bolts that will lock into filed-in channels on the spar so it will be held securely. Those are on the way.
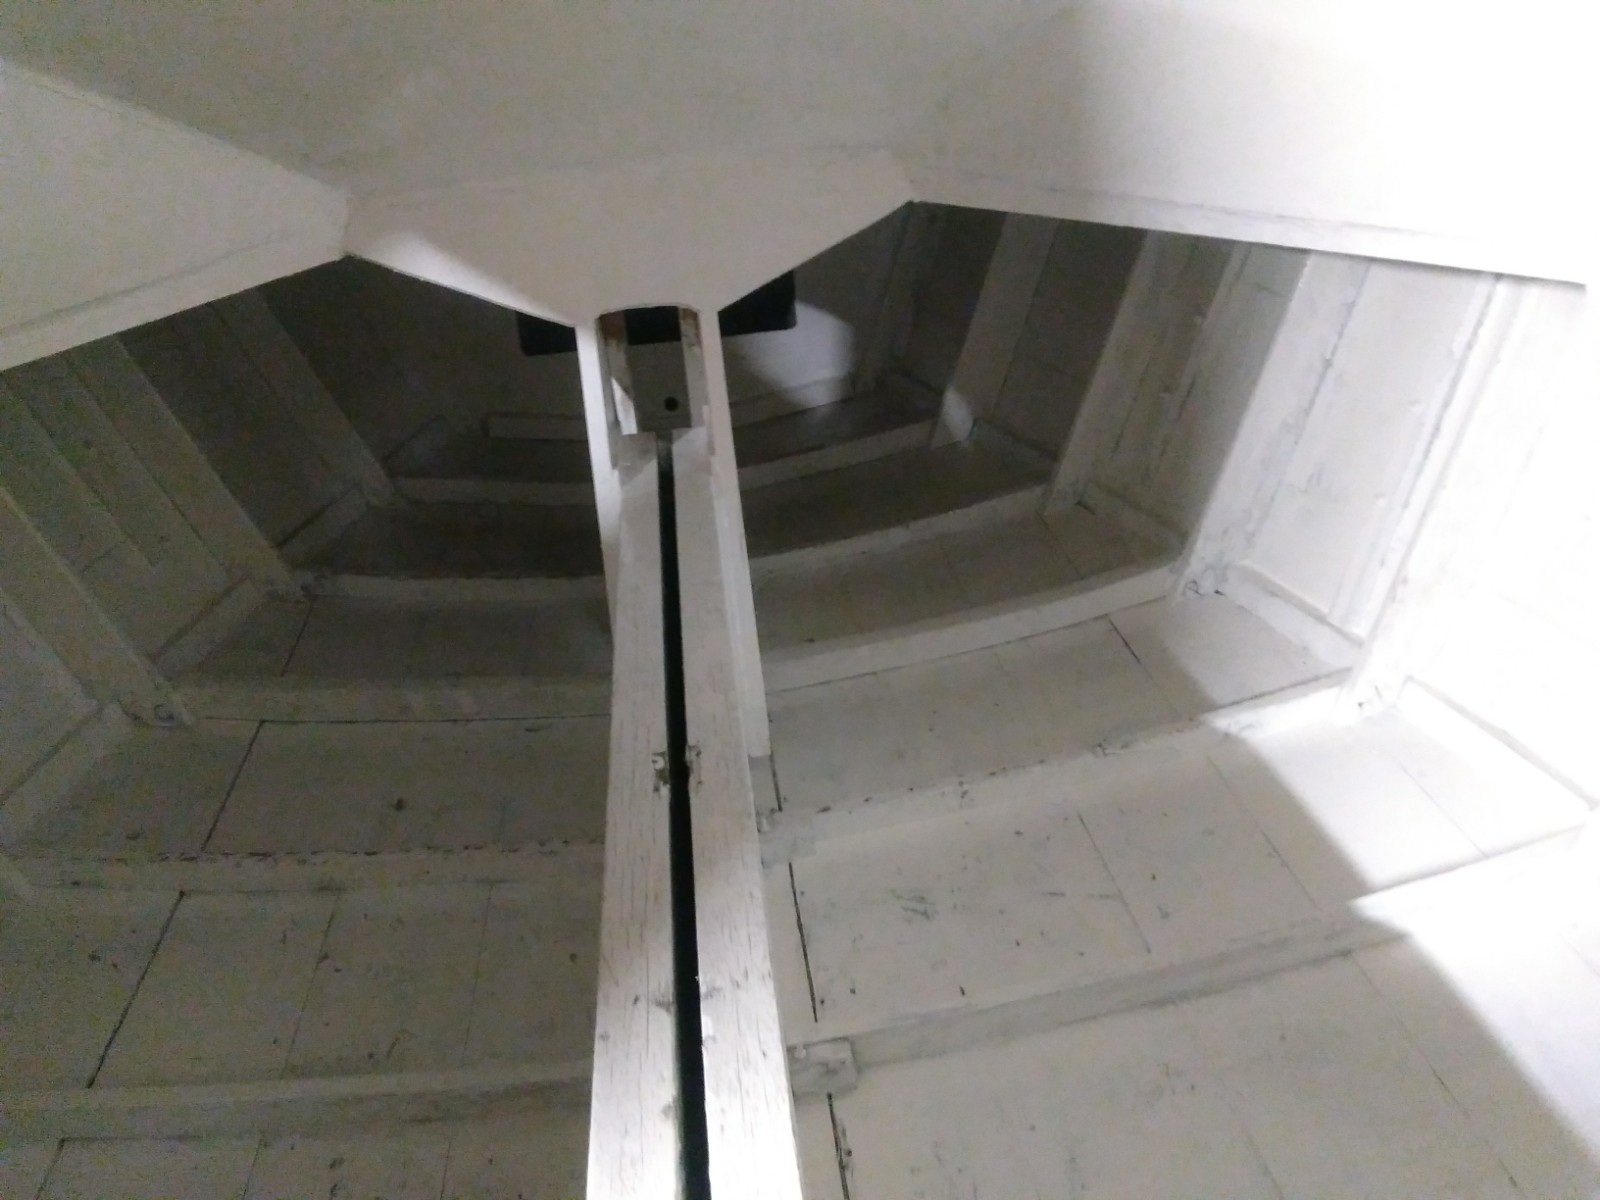
Saving the best for last, the Companionway and drop boards are done. This was a bit of tricky design. I had to have the hatch cover roughly two feet, and I couldn’t just slide it forward as the Vang would be in the way. So, I got clever and designed and built a 4-piece telescoping companionway.
Here it is, hatch open. that front piece is held in with five screws and is removeable to service the hatch pieces.

Here is the other side.
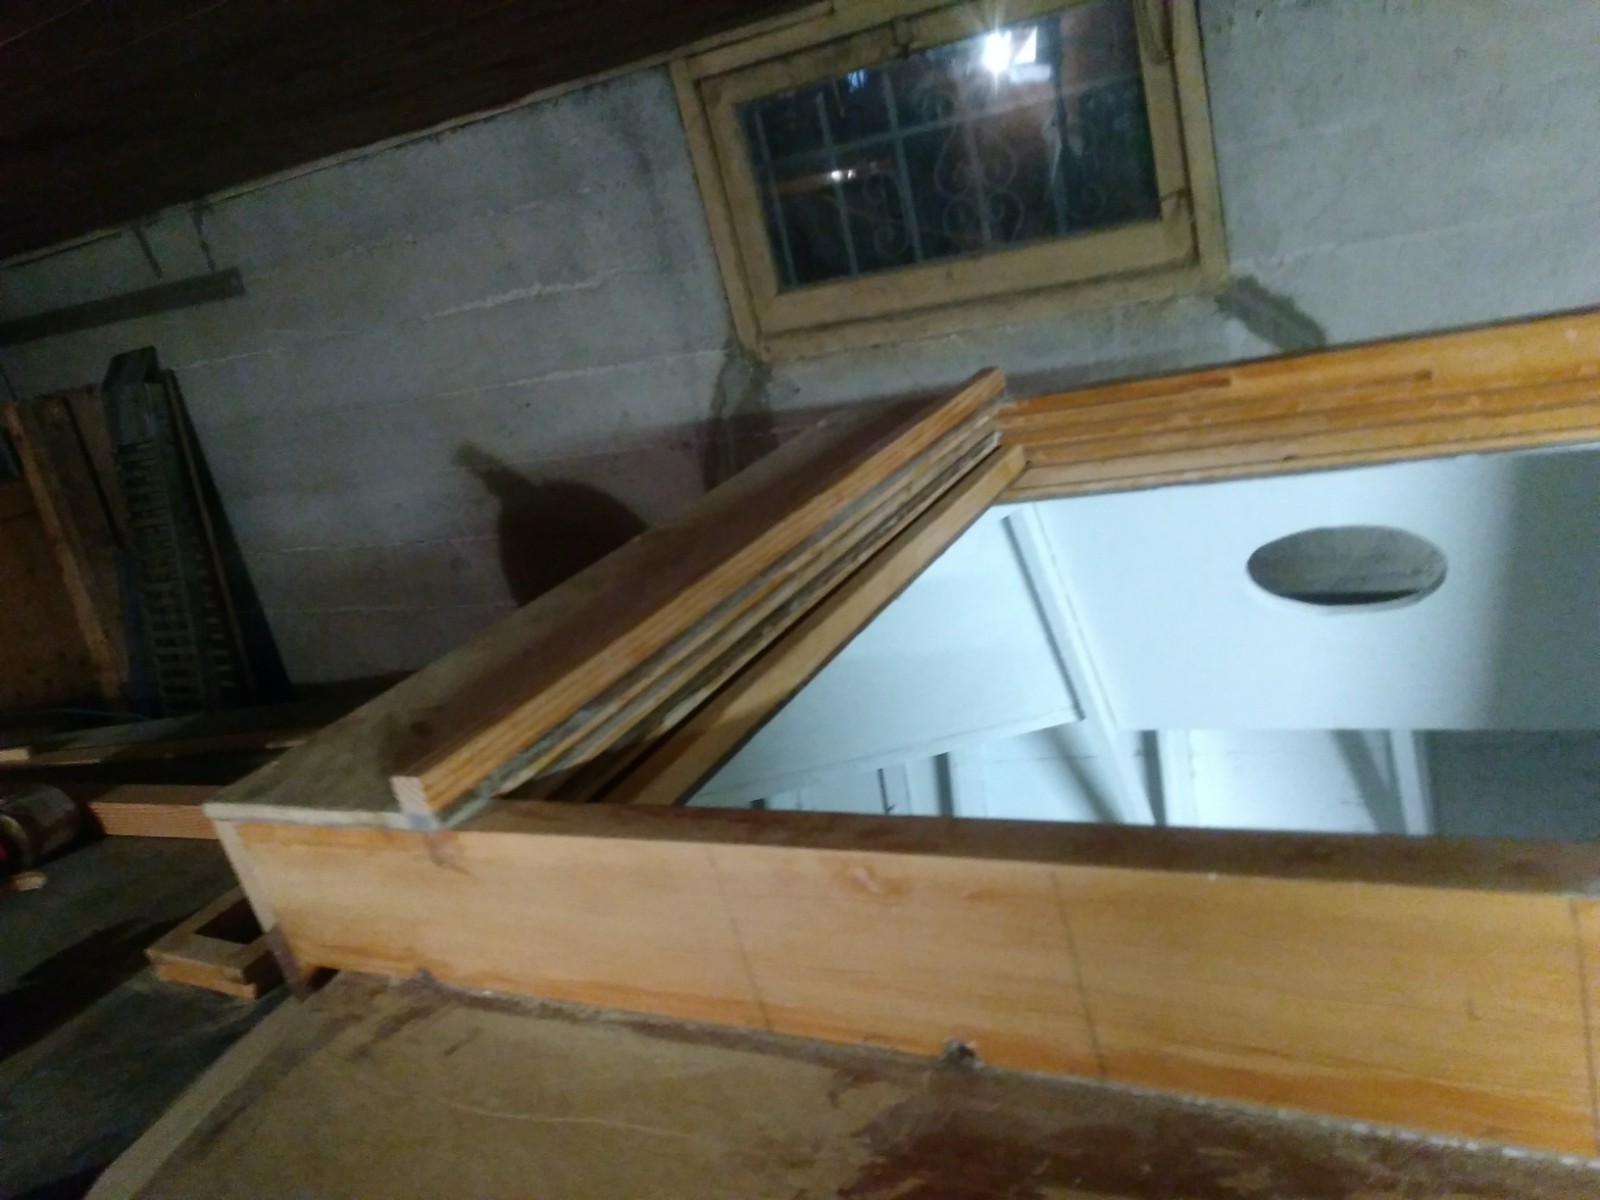
and then you pull it closed and BOOM!
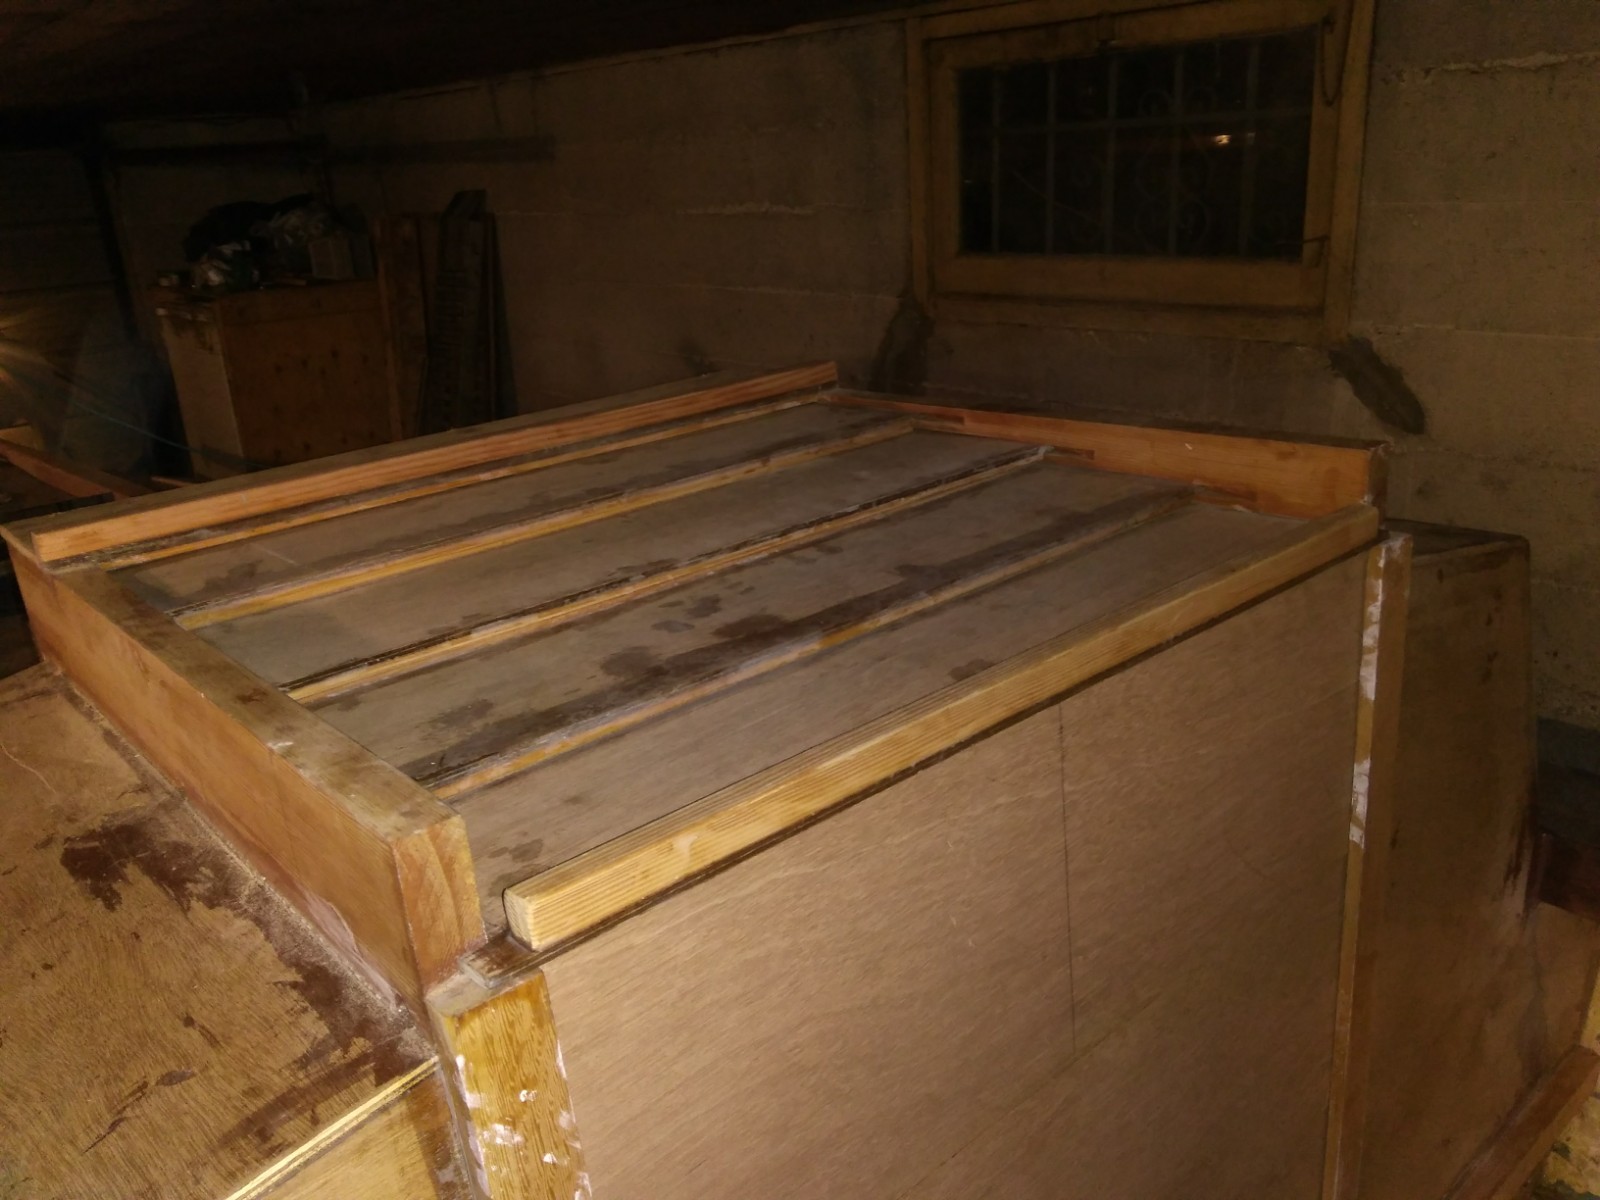
The hatch pieces telescope out and close it up, right up to the top of the 3-piece drop board set.
They are a little fiddly- they jam a little occasionally. I feel this should resolve itself once they are painted and the boards waxed so they slide easier. Worst case, I may need to round the edges of the boards a little more. This design also allows a one-piece board to be slid in from the front in the bottom slot if I need to go simple and rig a repair if something goes wrong. I hope to carry a one-piece board to do just that.
If you look at this on it’s face, you’d think that this would channel all the water that lands on to them into the cabin, but no, there is an internal rain gutter that takes any water that lands on the board out some small scuppers on the side, and also out thru the garage corner limber holes in the front.
I’m kinda proud of how this turned out.
A full set of standing rigging is on the way from the rigging department at Fisheries Supply that includes a Harken roller furler, and I’ve entered talks with Leitch and McBride to help me get a set of new sails, or at the very least a furling reaching asymmetrical Spinnaker or Code 0 for the bowsprit.
Things are moving. We’ve picked out the paint colors, and a lot of paining is in my near future along with fairing in the deck and hull sides. I’m excited. R2AK deadline to register without paying the ‘slacker tax’ is the middle of next month. Decisions have to be made.
Merry Christmas to all who reads this, and I hope your New Year is bright.
Rob Hodge