
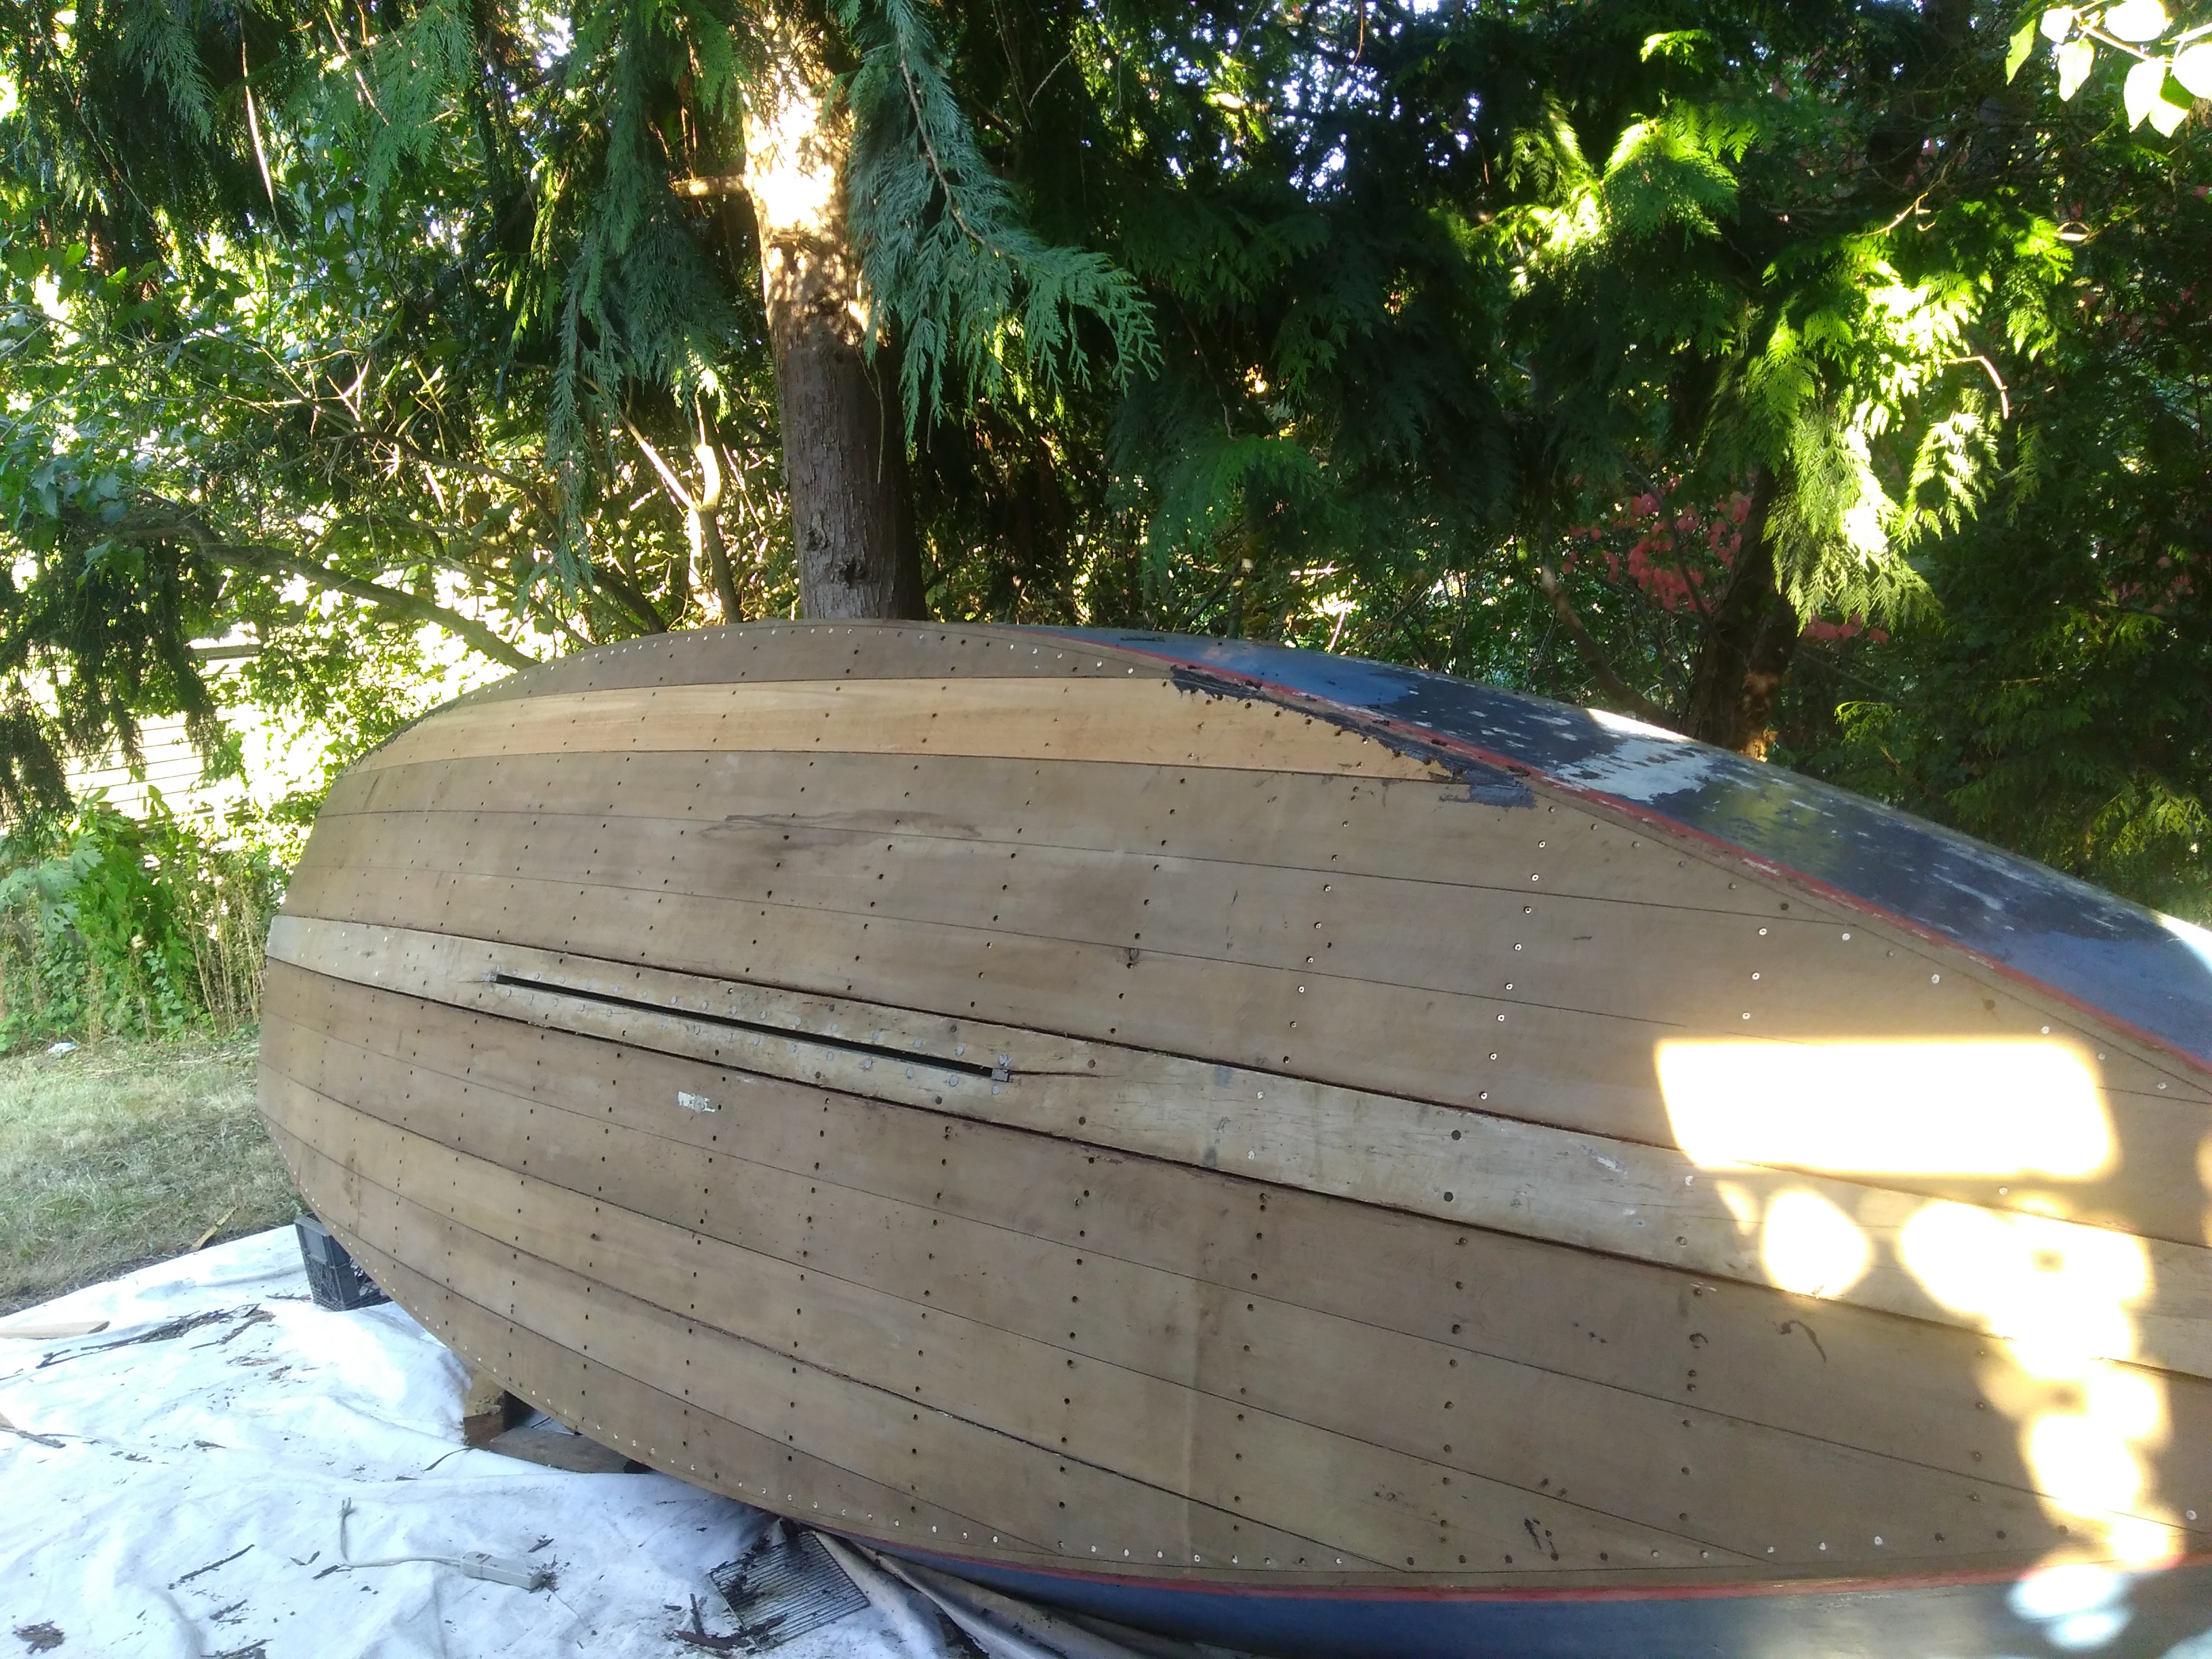
So, this picture doesn’t look much different than the last one I posted.
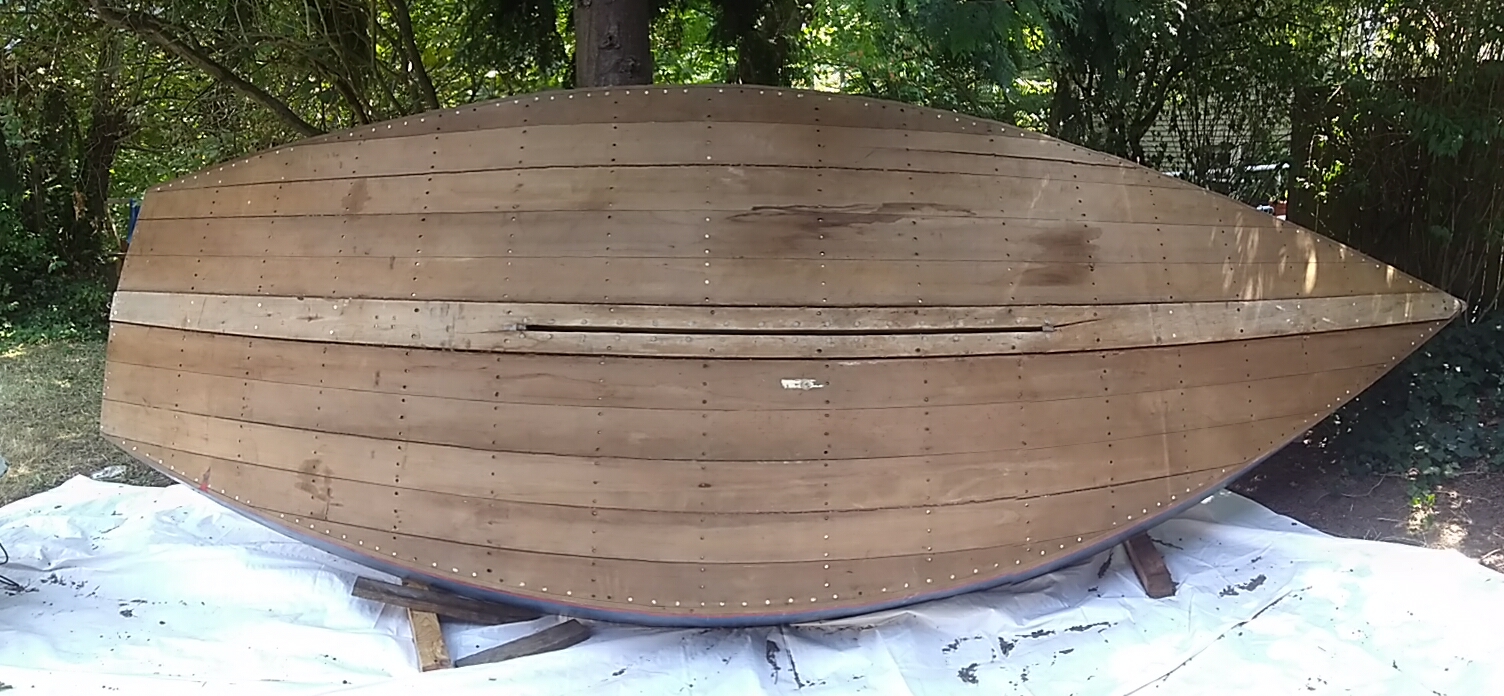
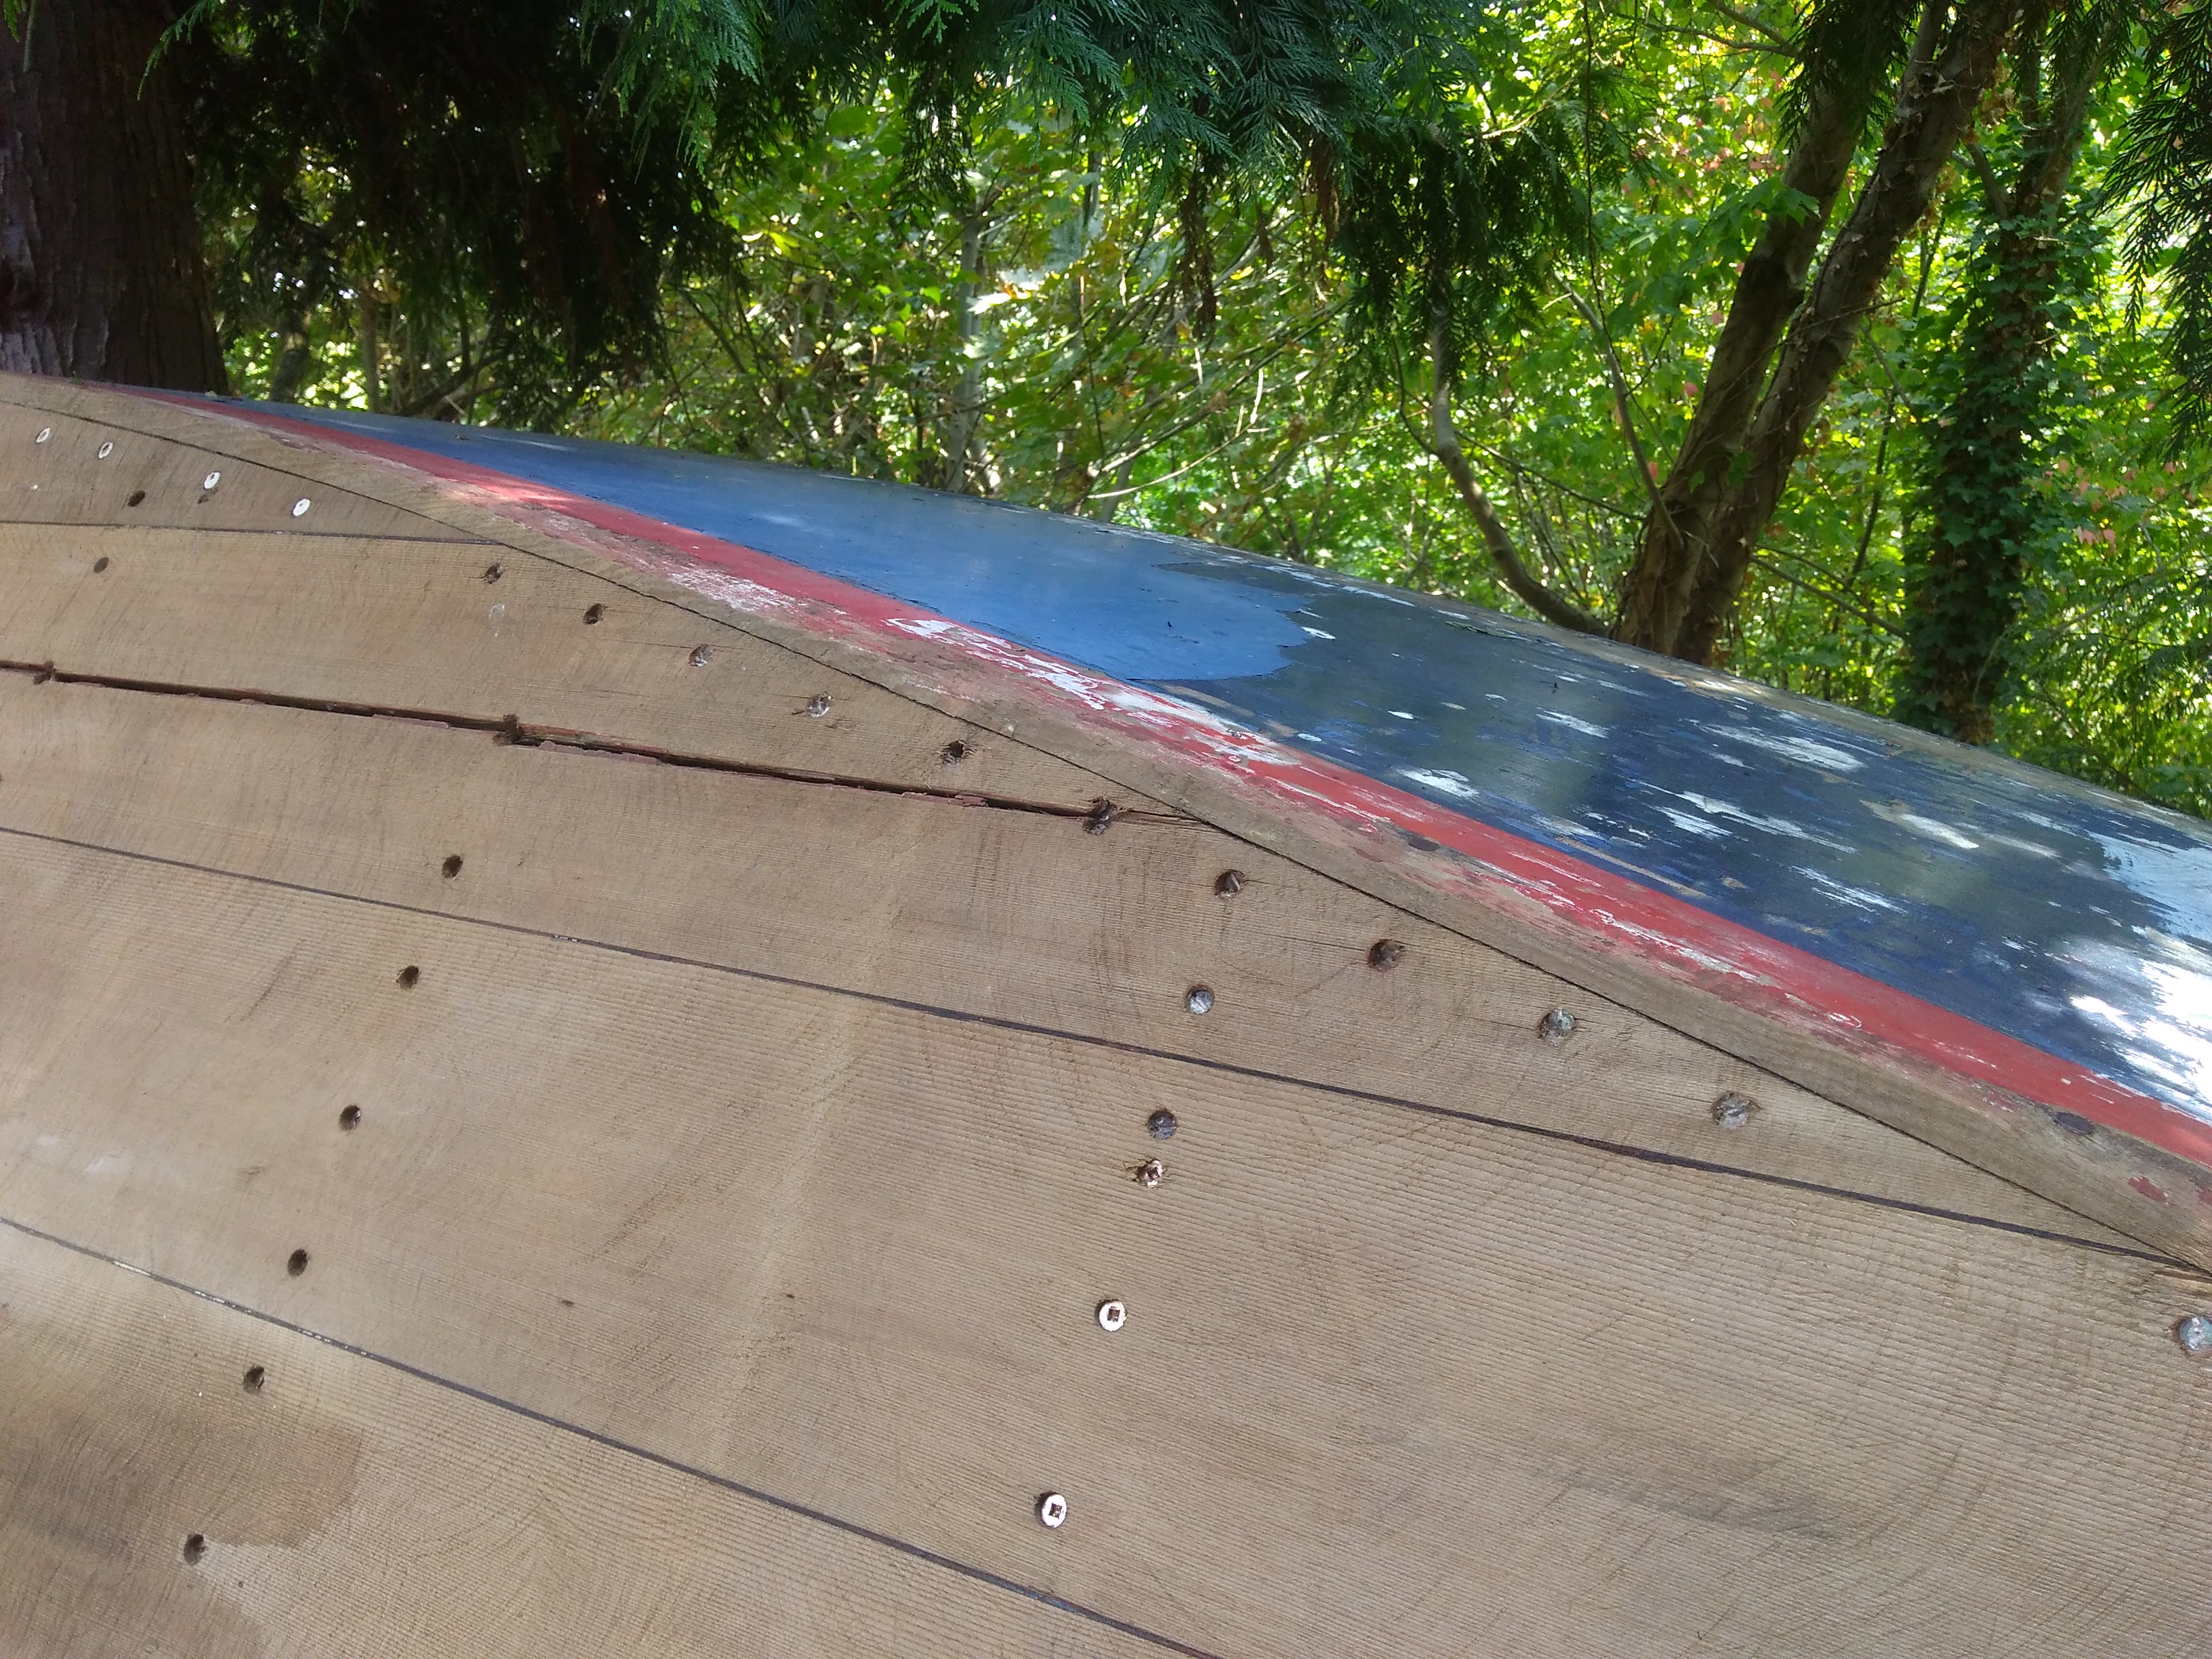
The difference is that I’ve refastened the bottom. Something like 350 brass screws pulled, the holes drilled larger, and the screws replaced with slightly larger and longer silicon bronze screws. this was complicated by the fact that each screw head had been faired in with either some sort of plaster, or in some cases polysulfide. I had to get a set of dental picks and scrape out all of this so I could get a screwdriver to grip on the screw heads. In addition, a good number of the brass screws had had the zinc leached out of them so they were soft copper and wanted to crumble.
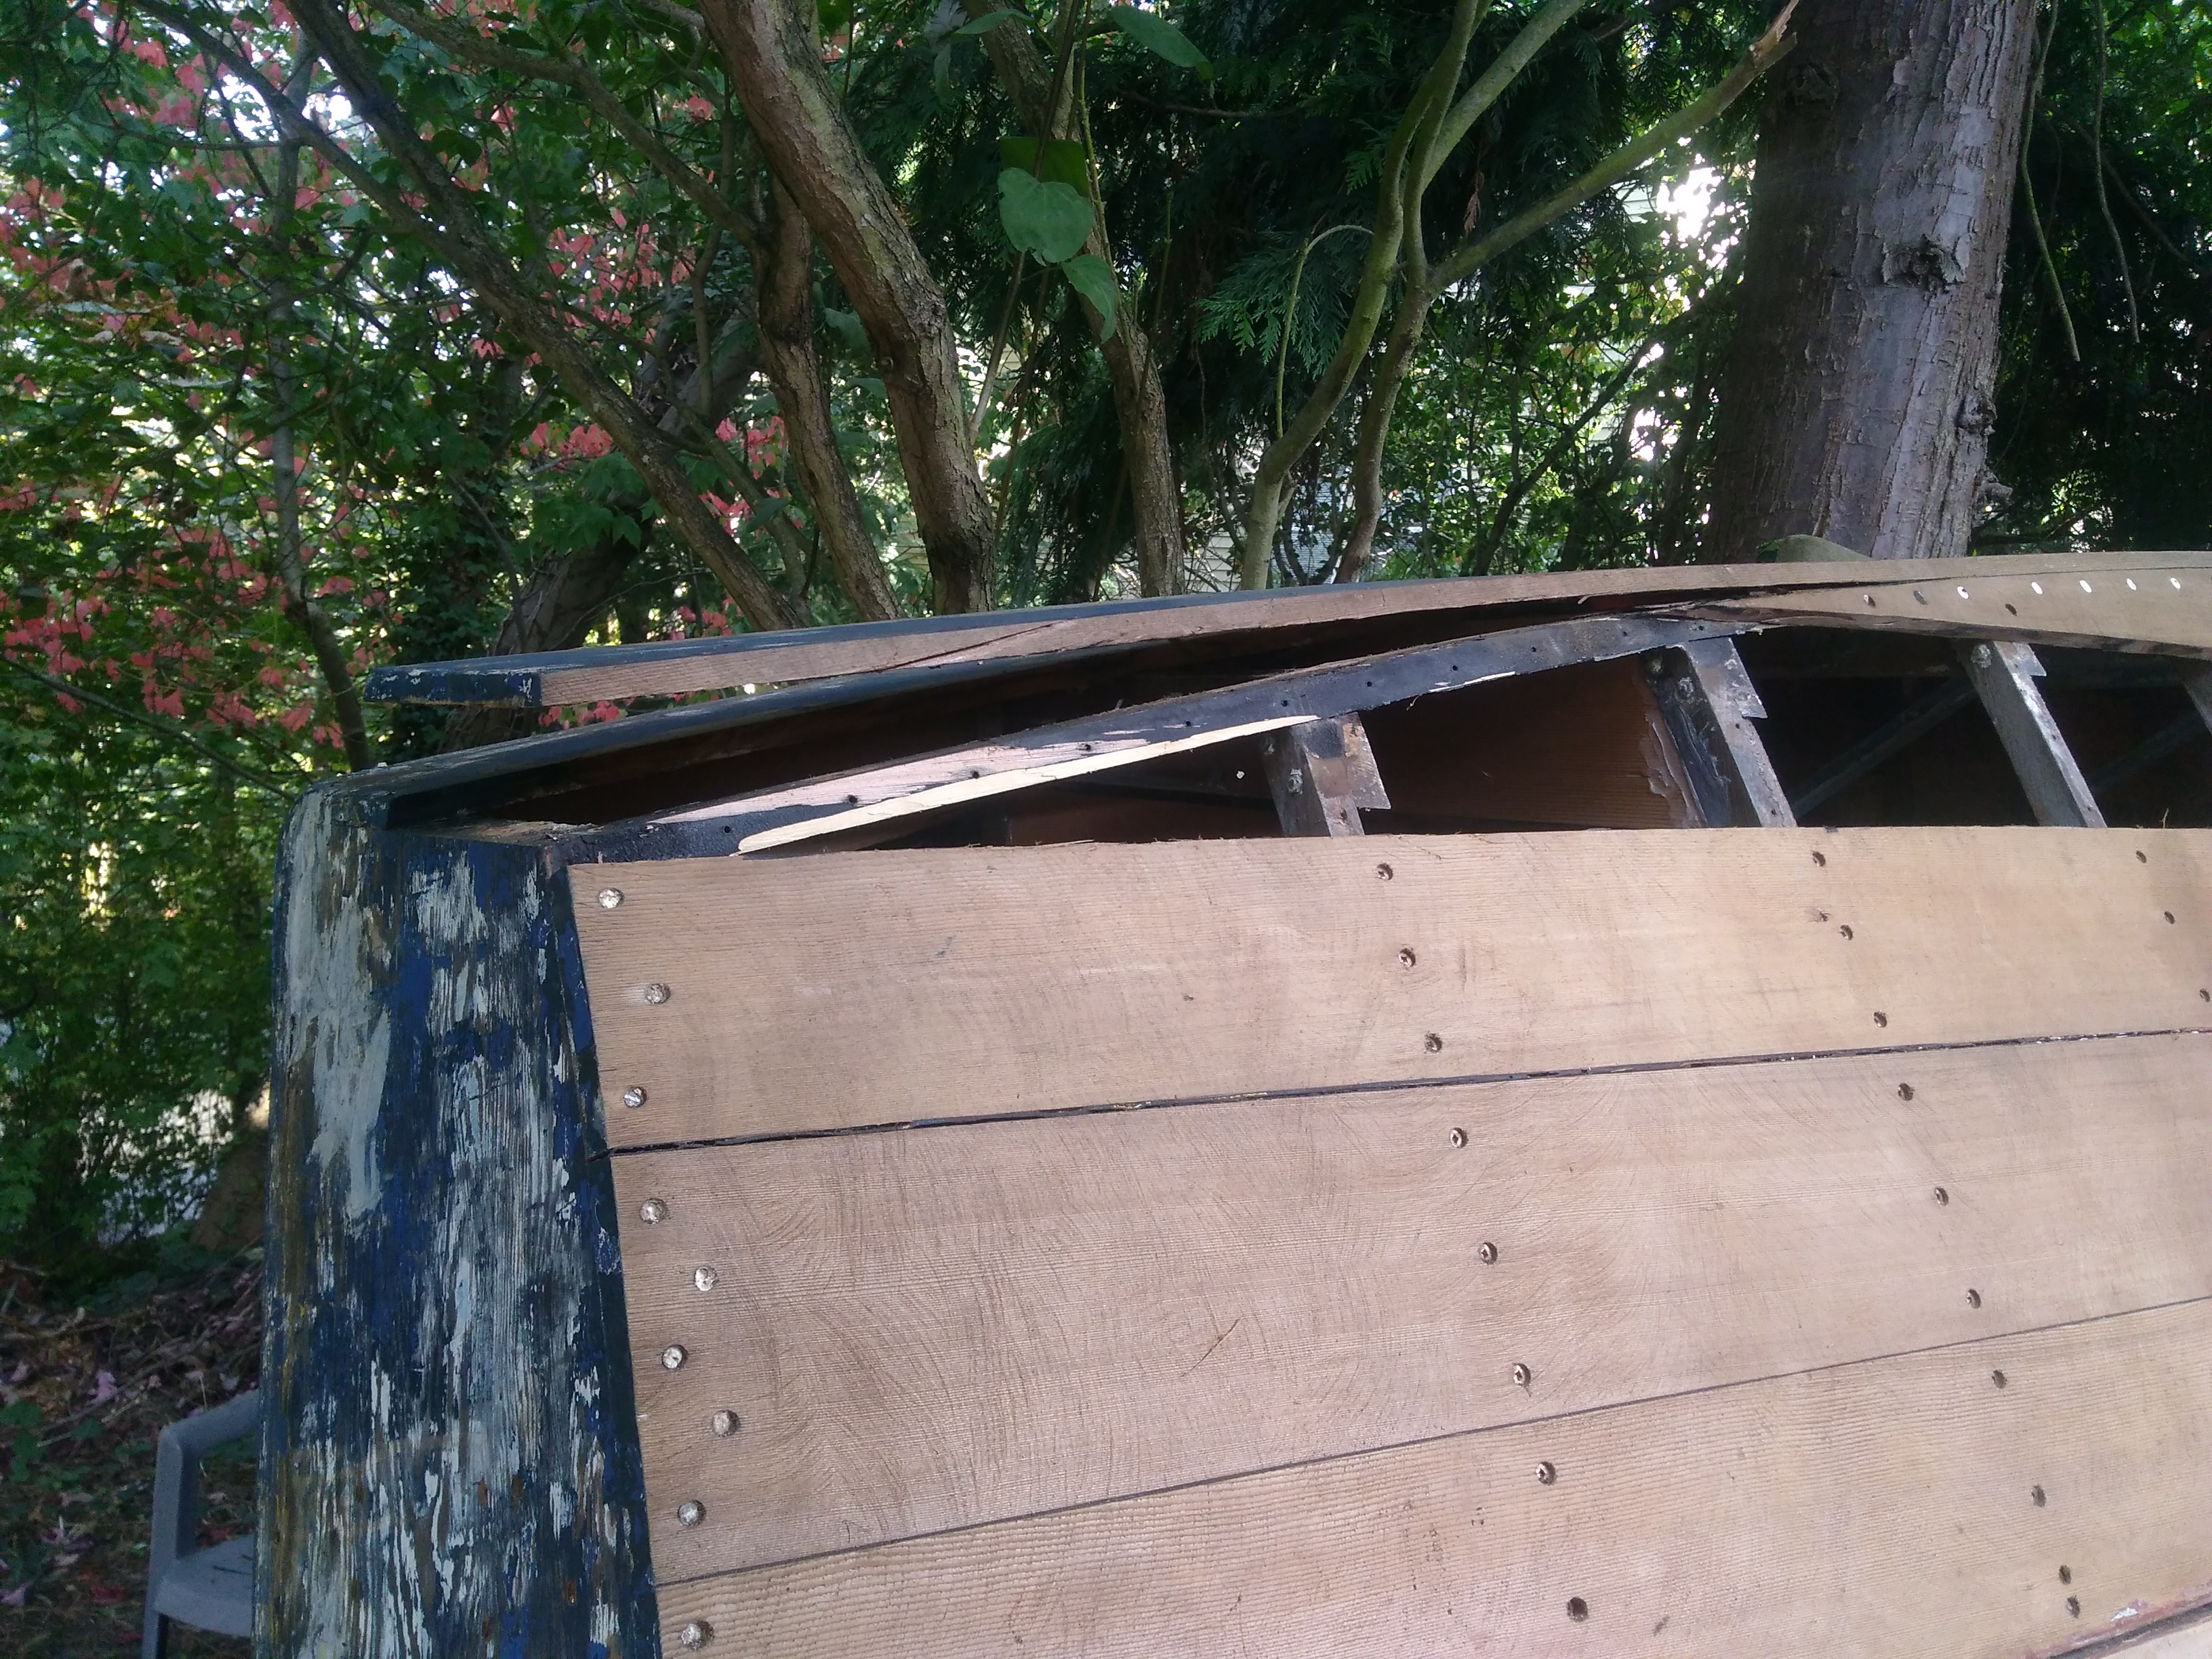
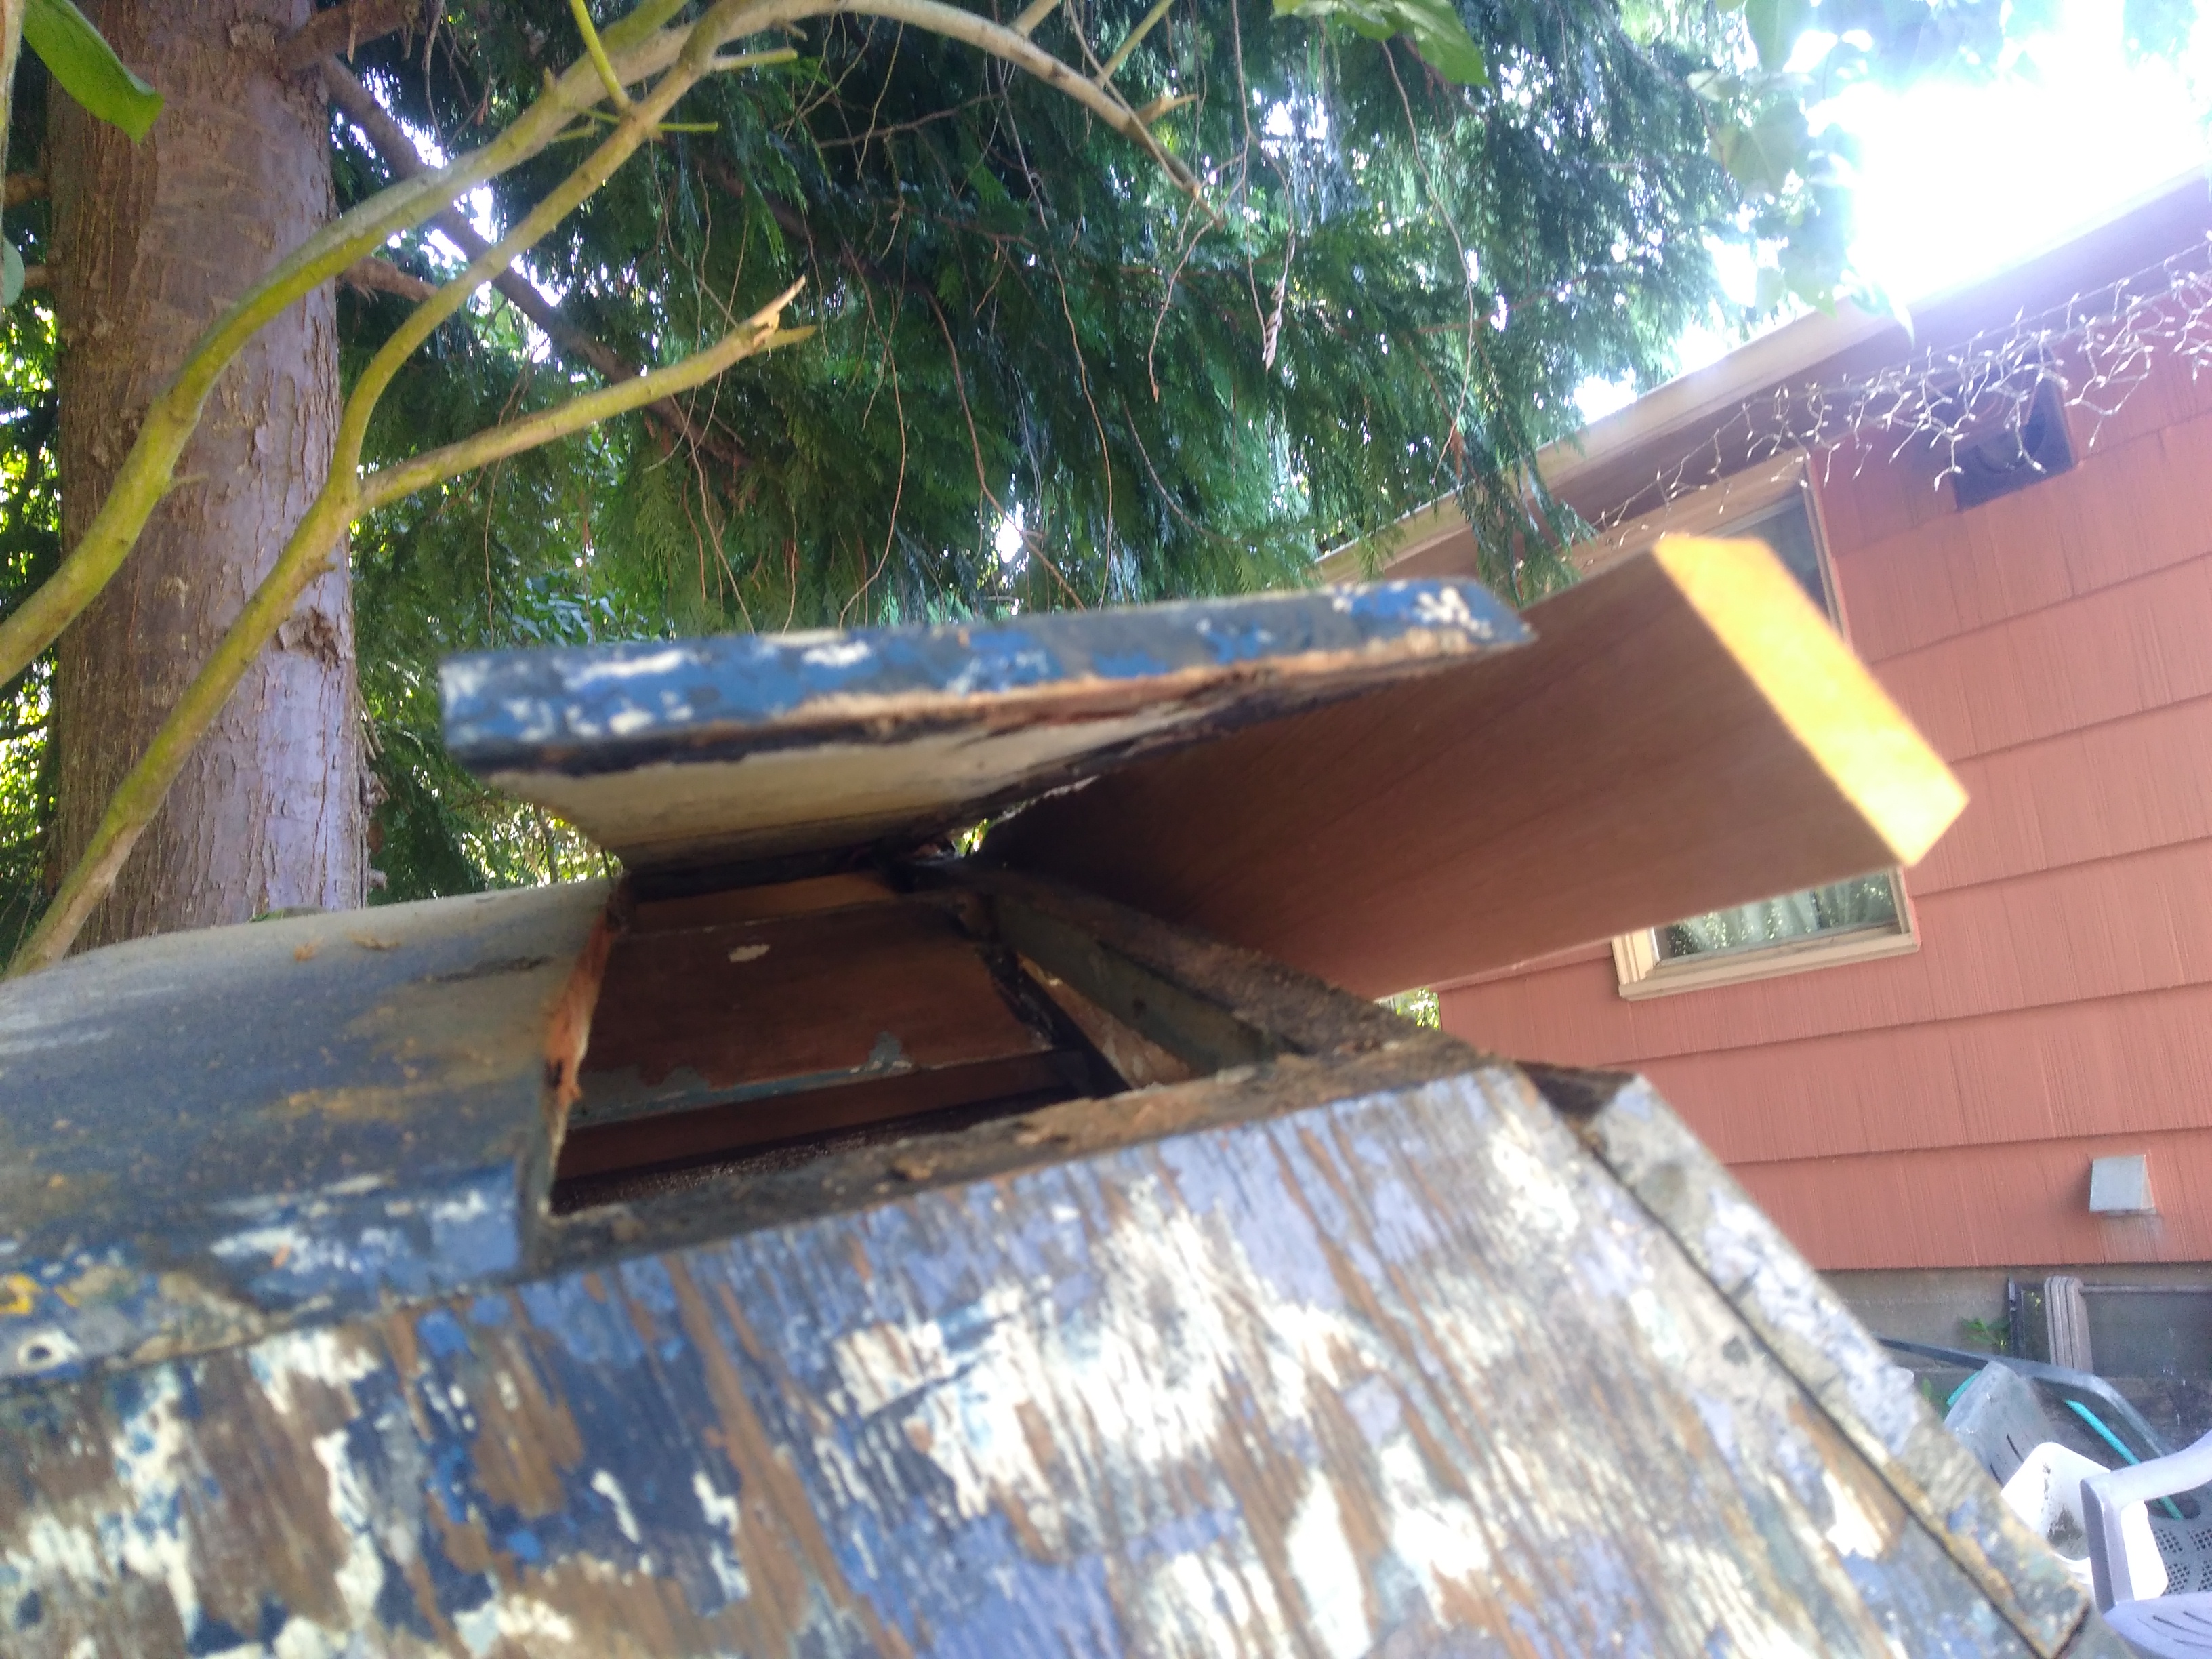
You’ll notice that I haven’t addressed the split plank; it still has the original screws in these pictures. Addressing the split plank was the next step.
Here’s the worst of it, up at the front. it was a split about 3-4 feet long. I had decided to just pull and replace the whole plank.
to complicate things, the plank is beveled to fit under the side plank at the chine both at the front and the back, so I can’t just pop the plank off and pop on a new one.
I decided to spring the side plank on the aft end, so I could fit the front end and work my way aft. But first, I had to remove the split plank. I removed the screws, cut the plank in half, then ended up splitting the front half to get it out.
Once I got the plank sprung and the old one out, I had a clear plan to get the new one in.
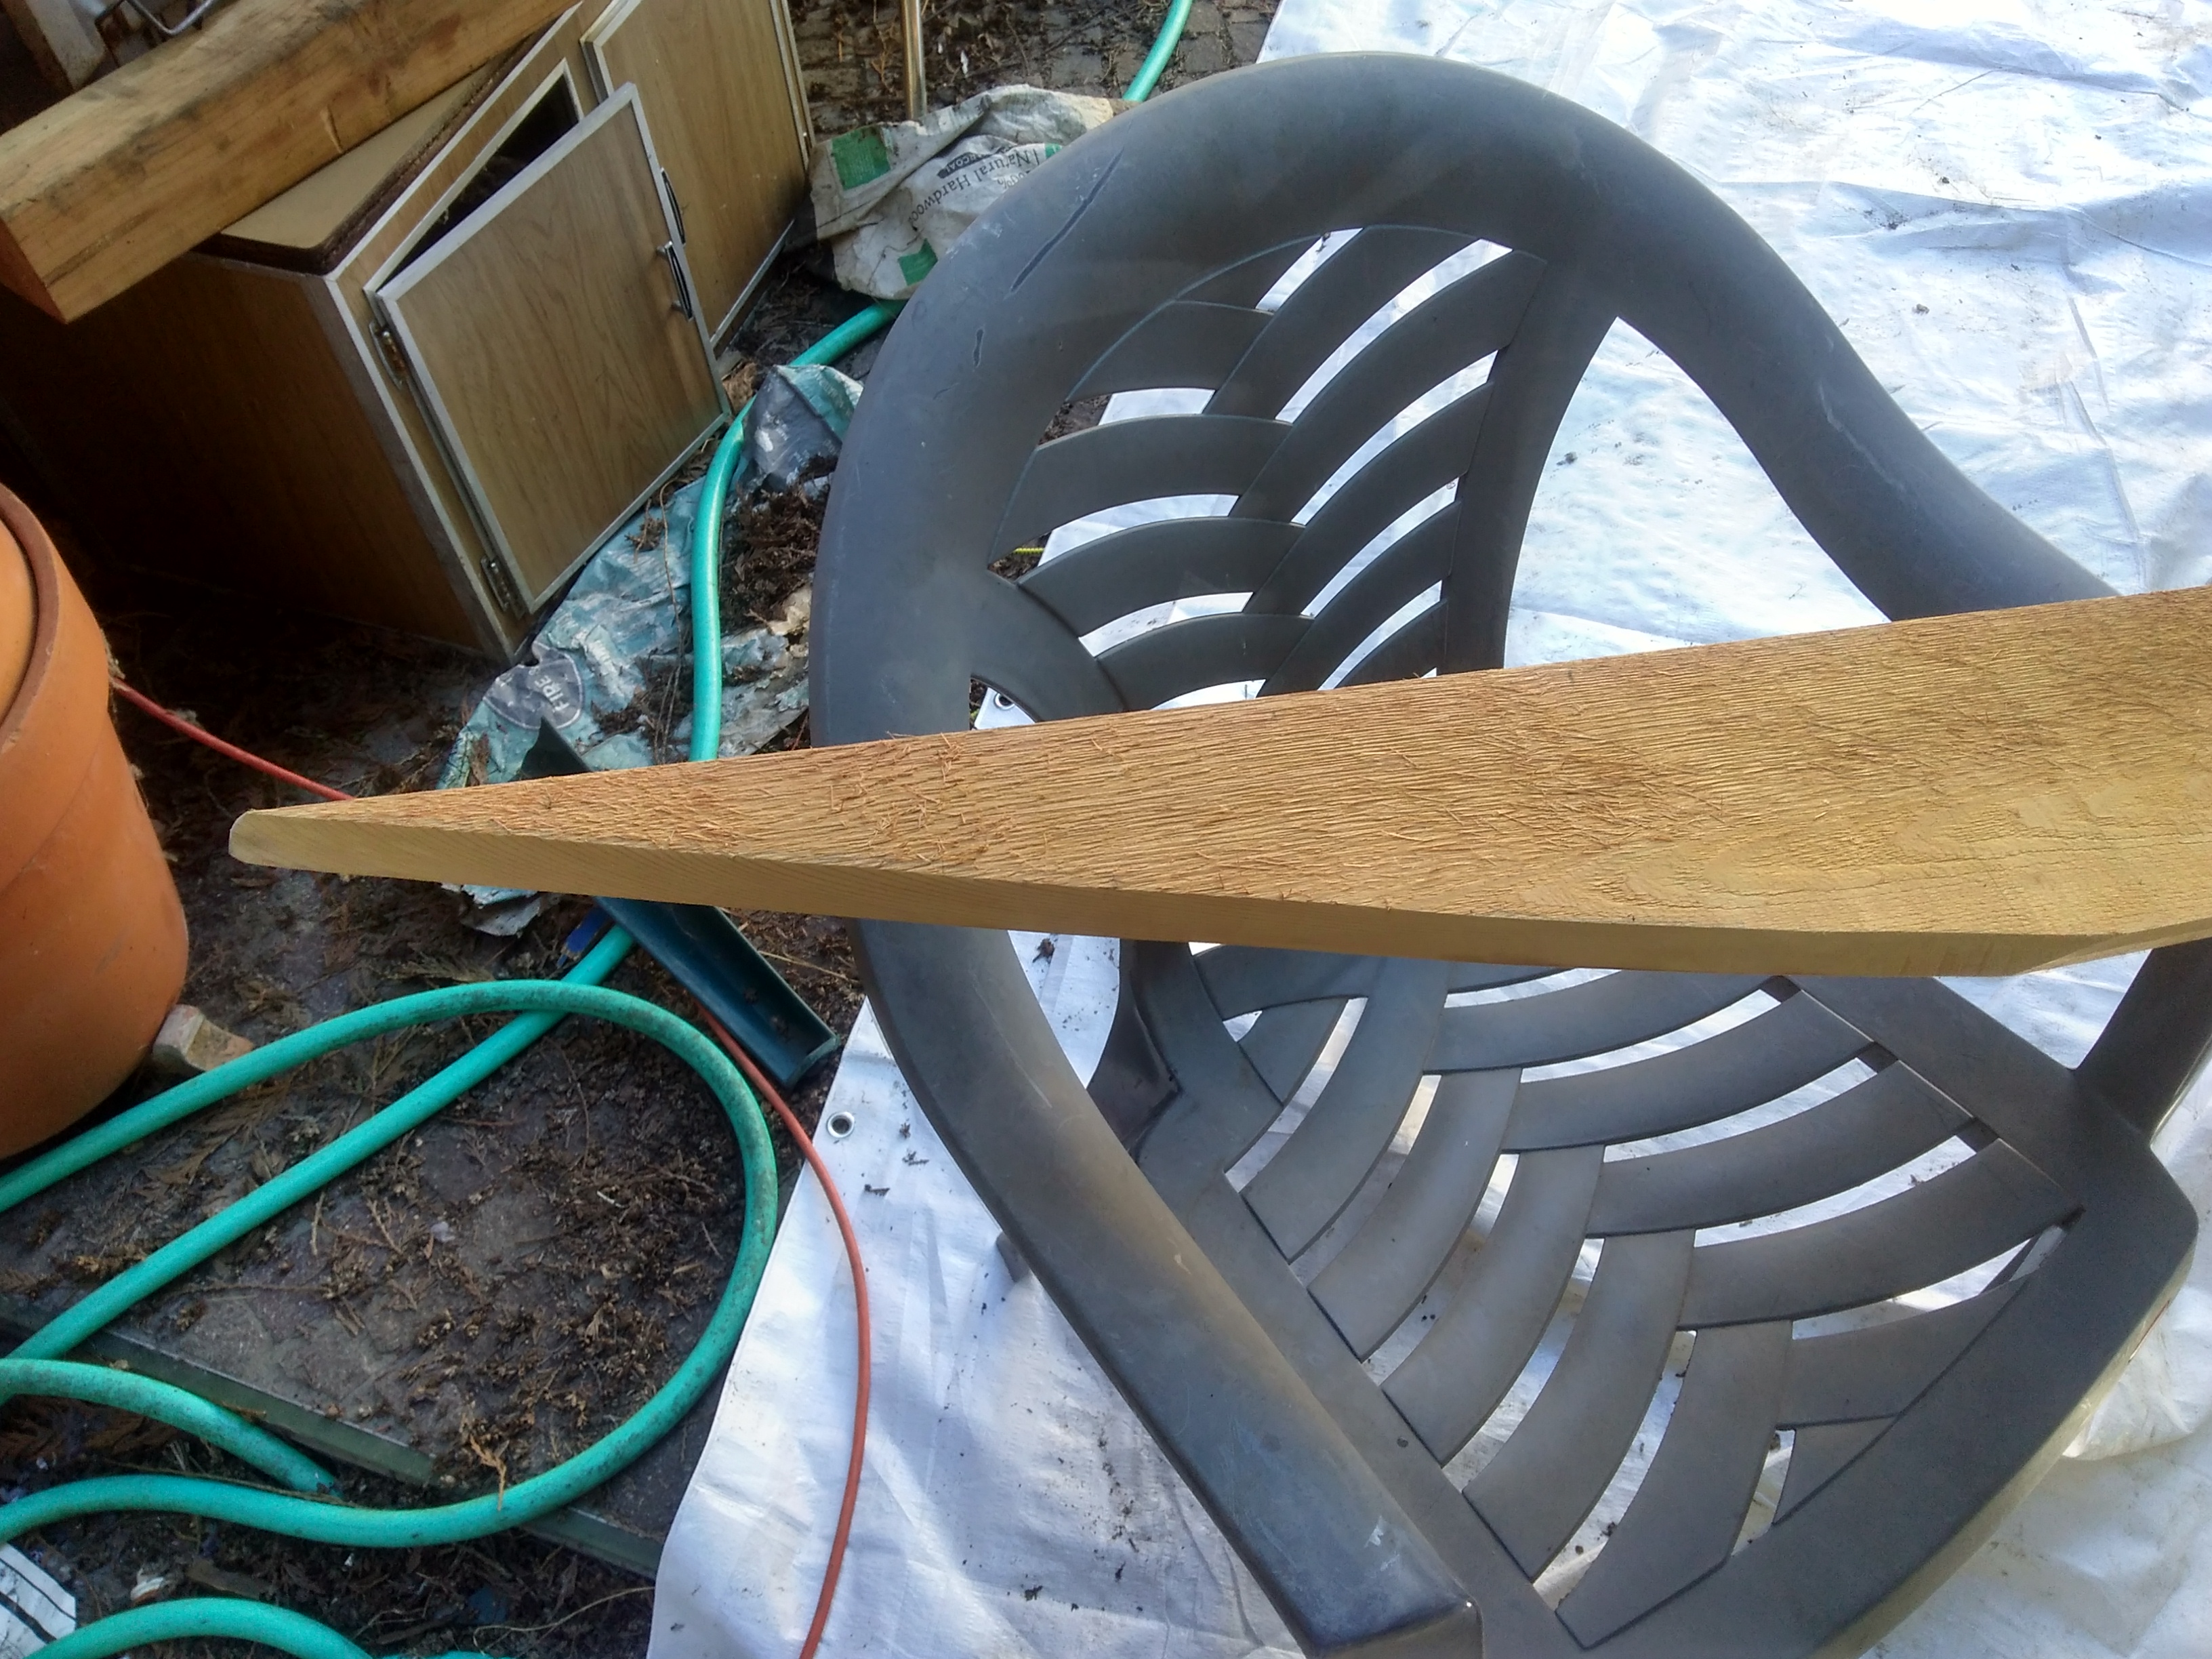
I ripped the plank down to 6.25″, hit a slight bevel to it for the seam cauking on both sides, and rough cut the front end of the plank, using a band saw with the table tilted 30 degrees.
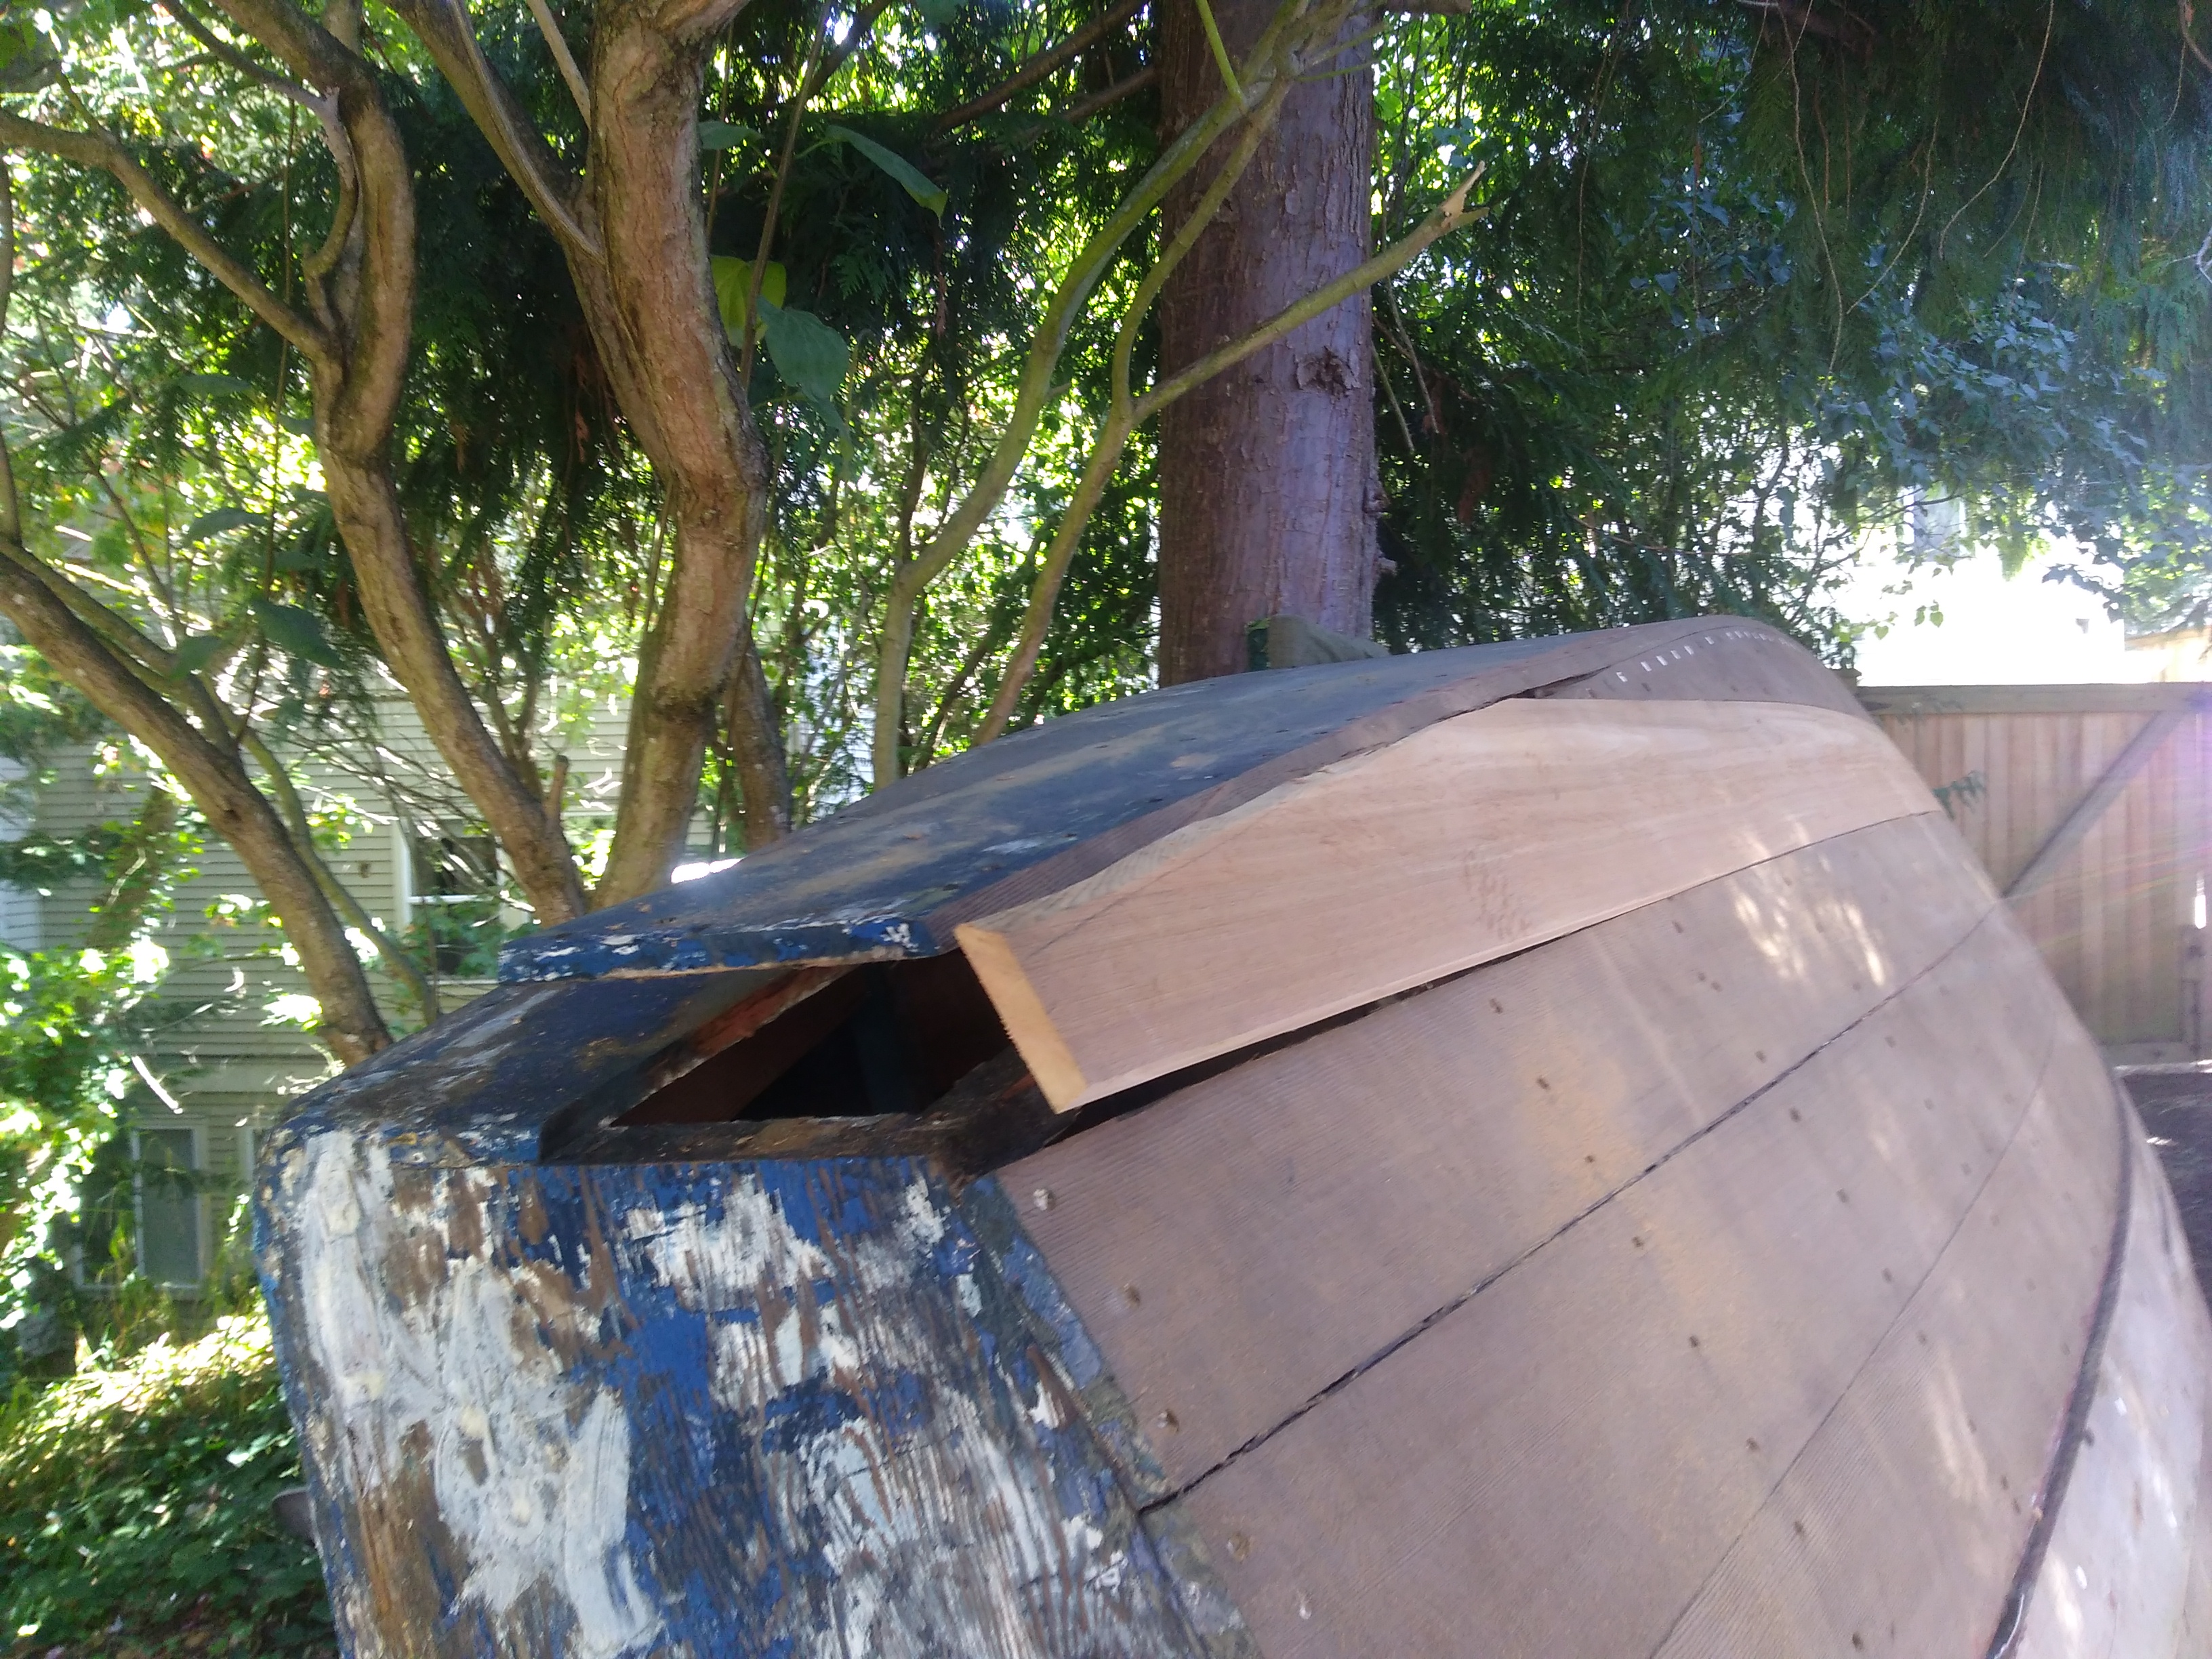
Some more working and sanding on the end, and I had a fit.
I loaded up the chine log with polysulfide, and screwed the front of the plank in. From there, I worked it from the front to the back, screwing it in to the ribs while my son pushed the board into place.
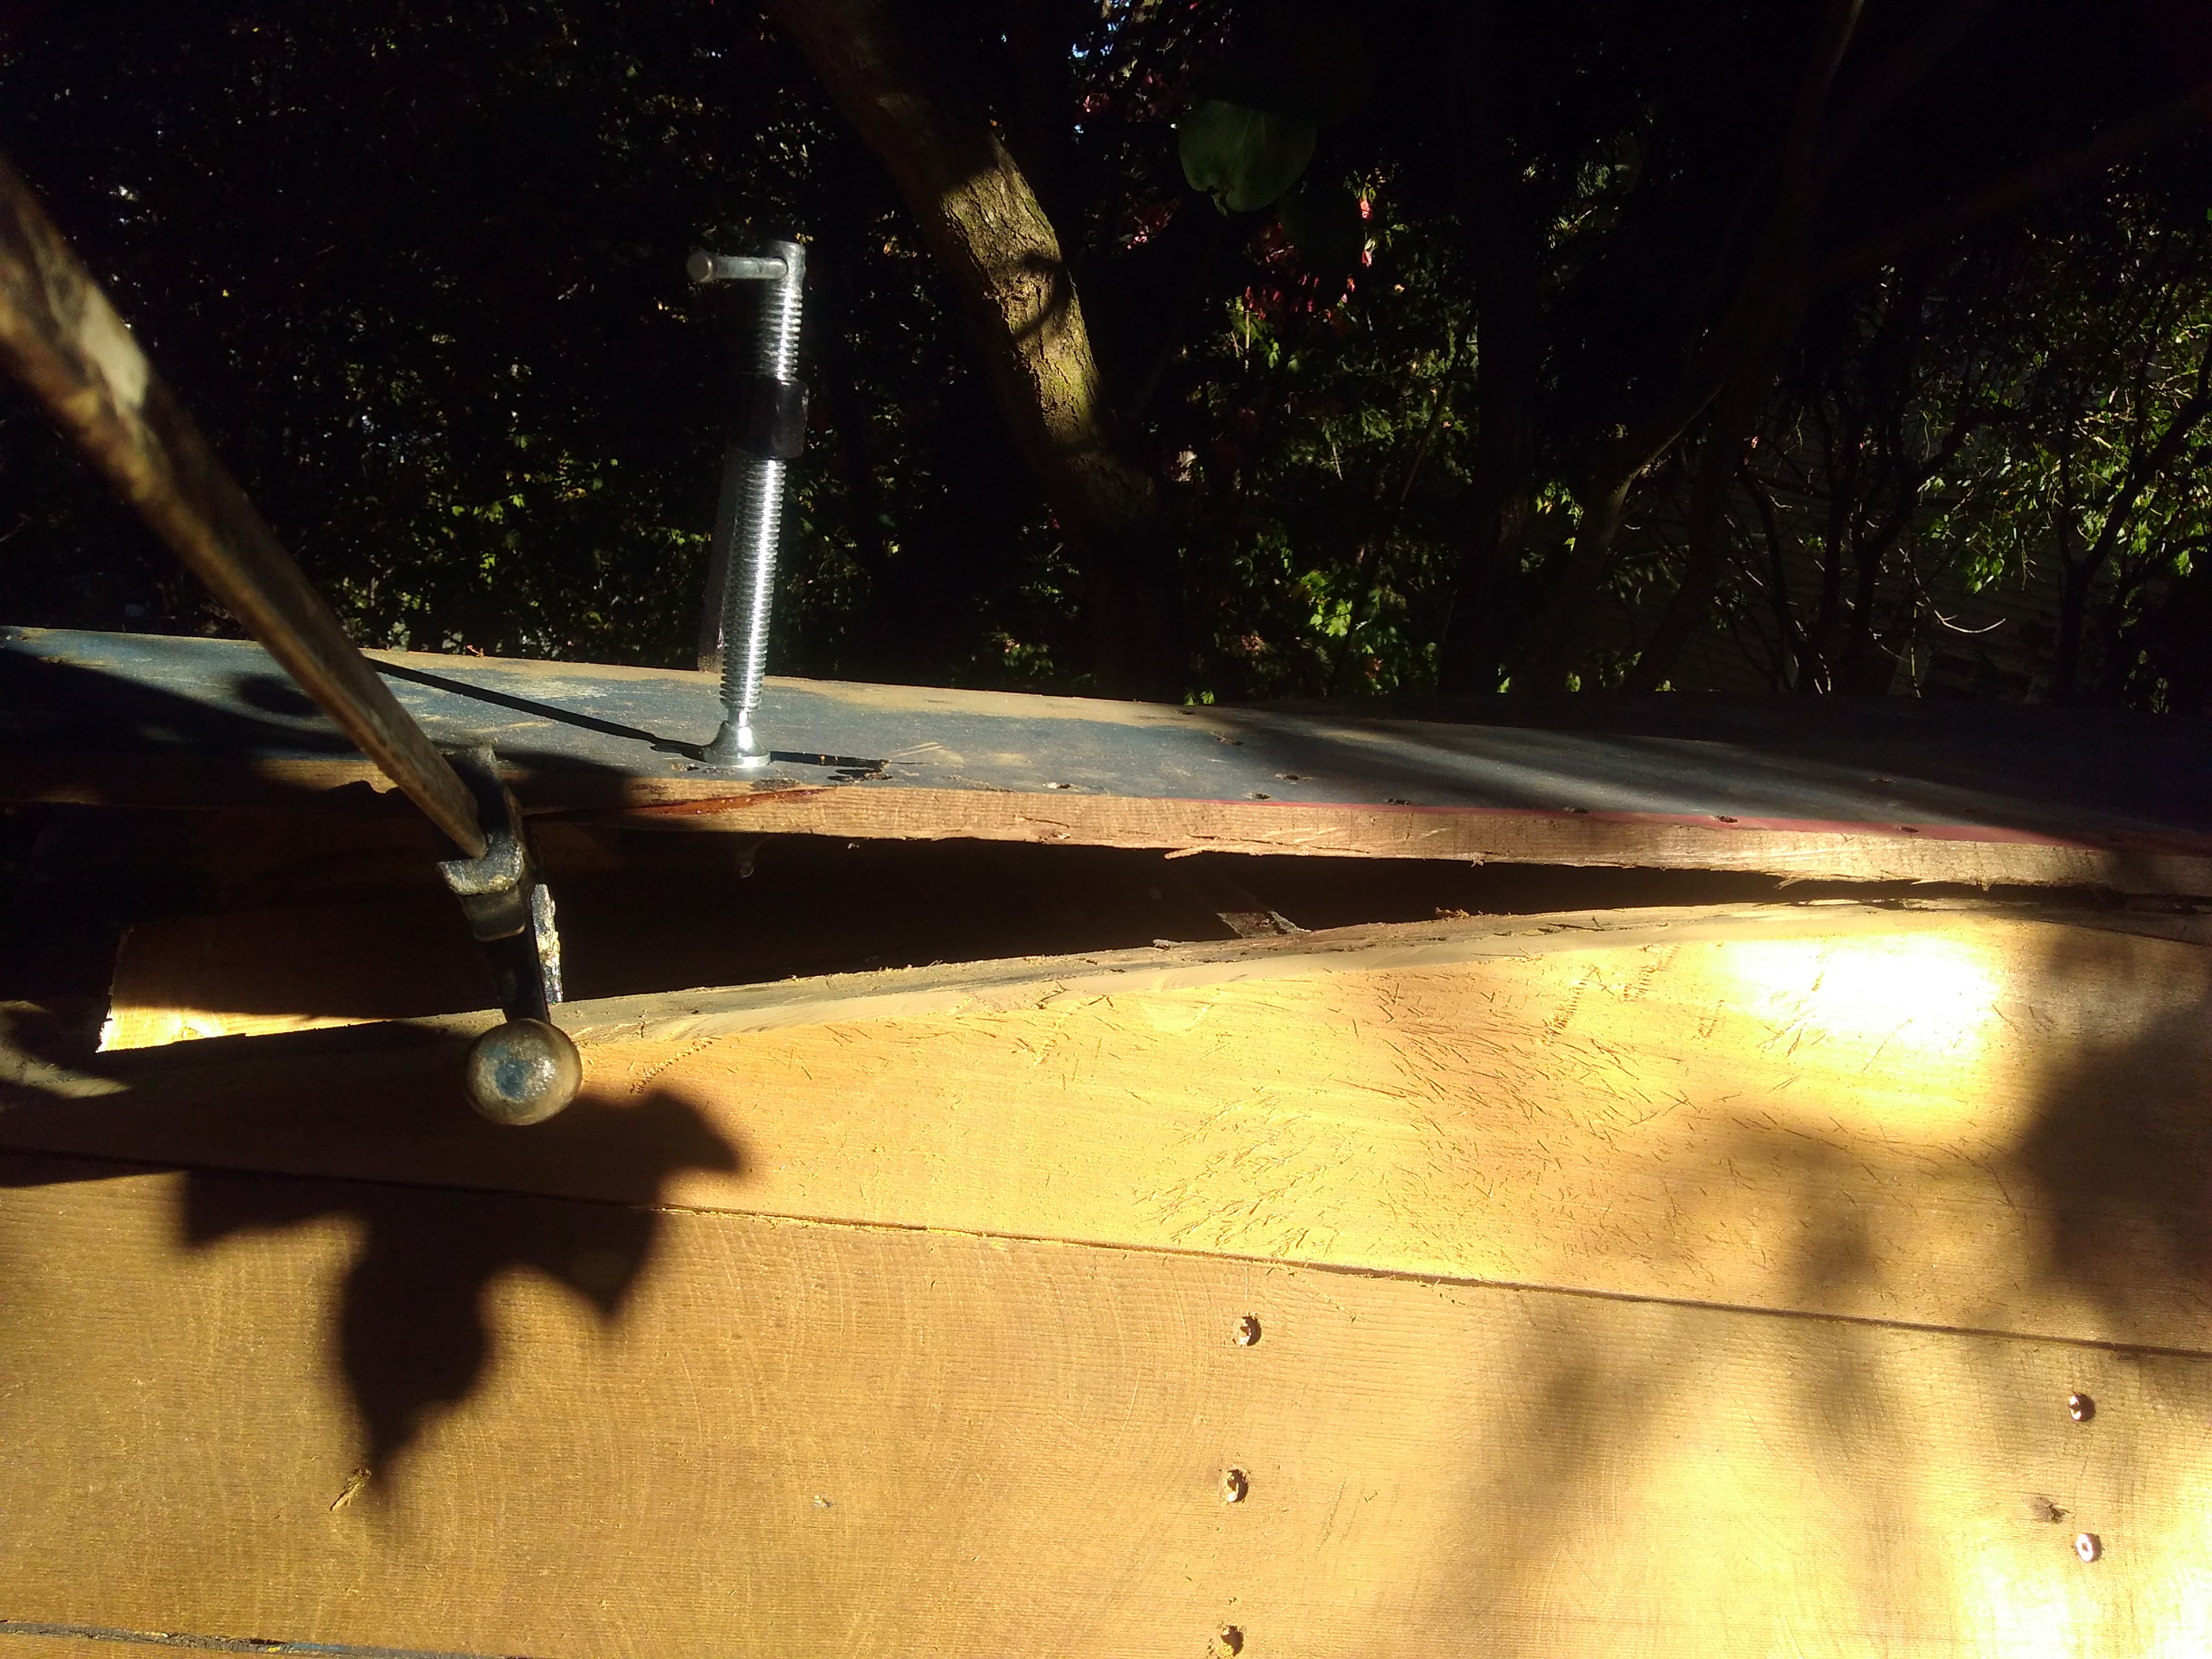
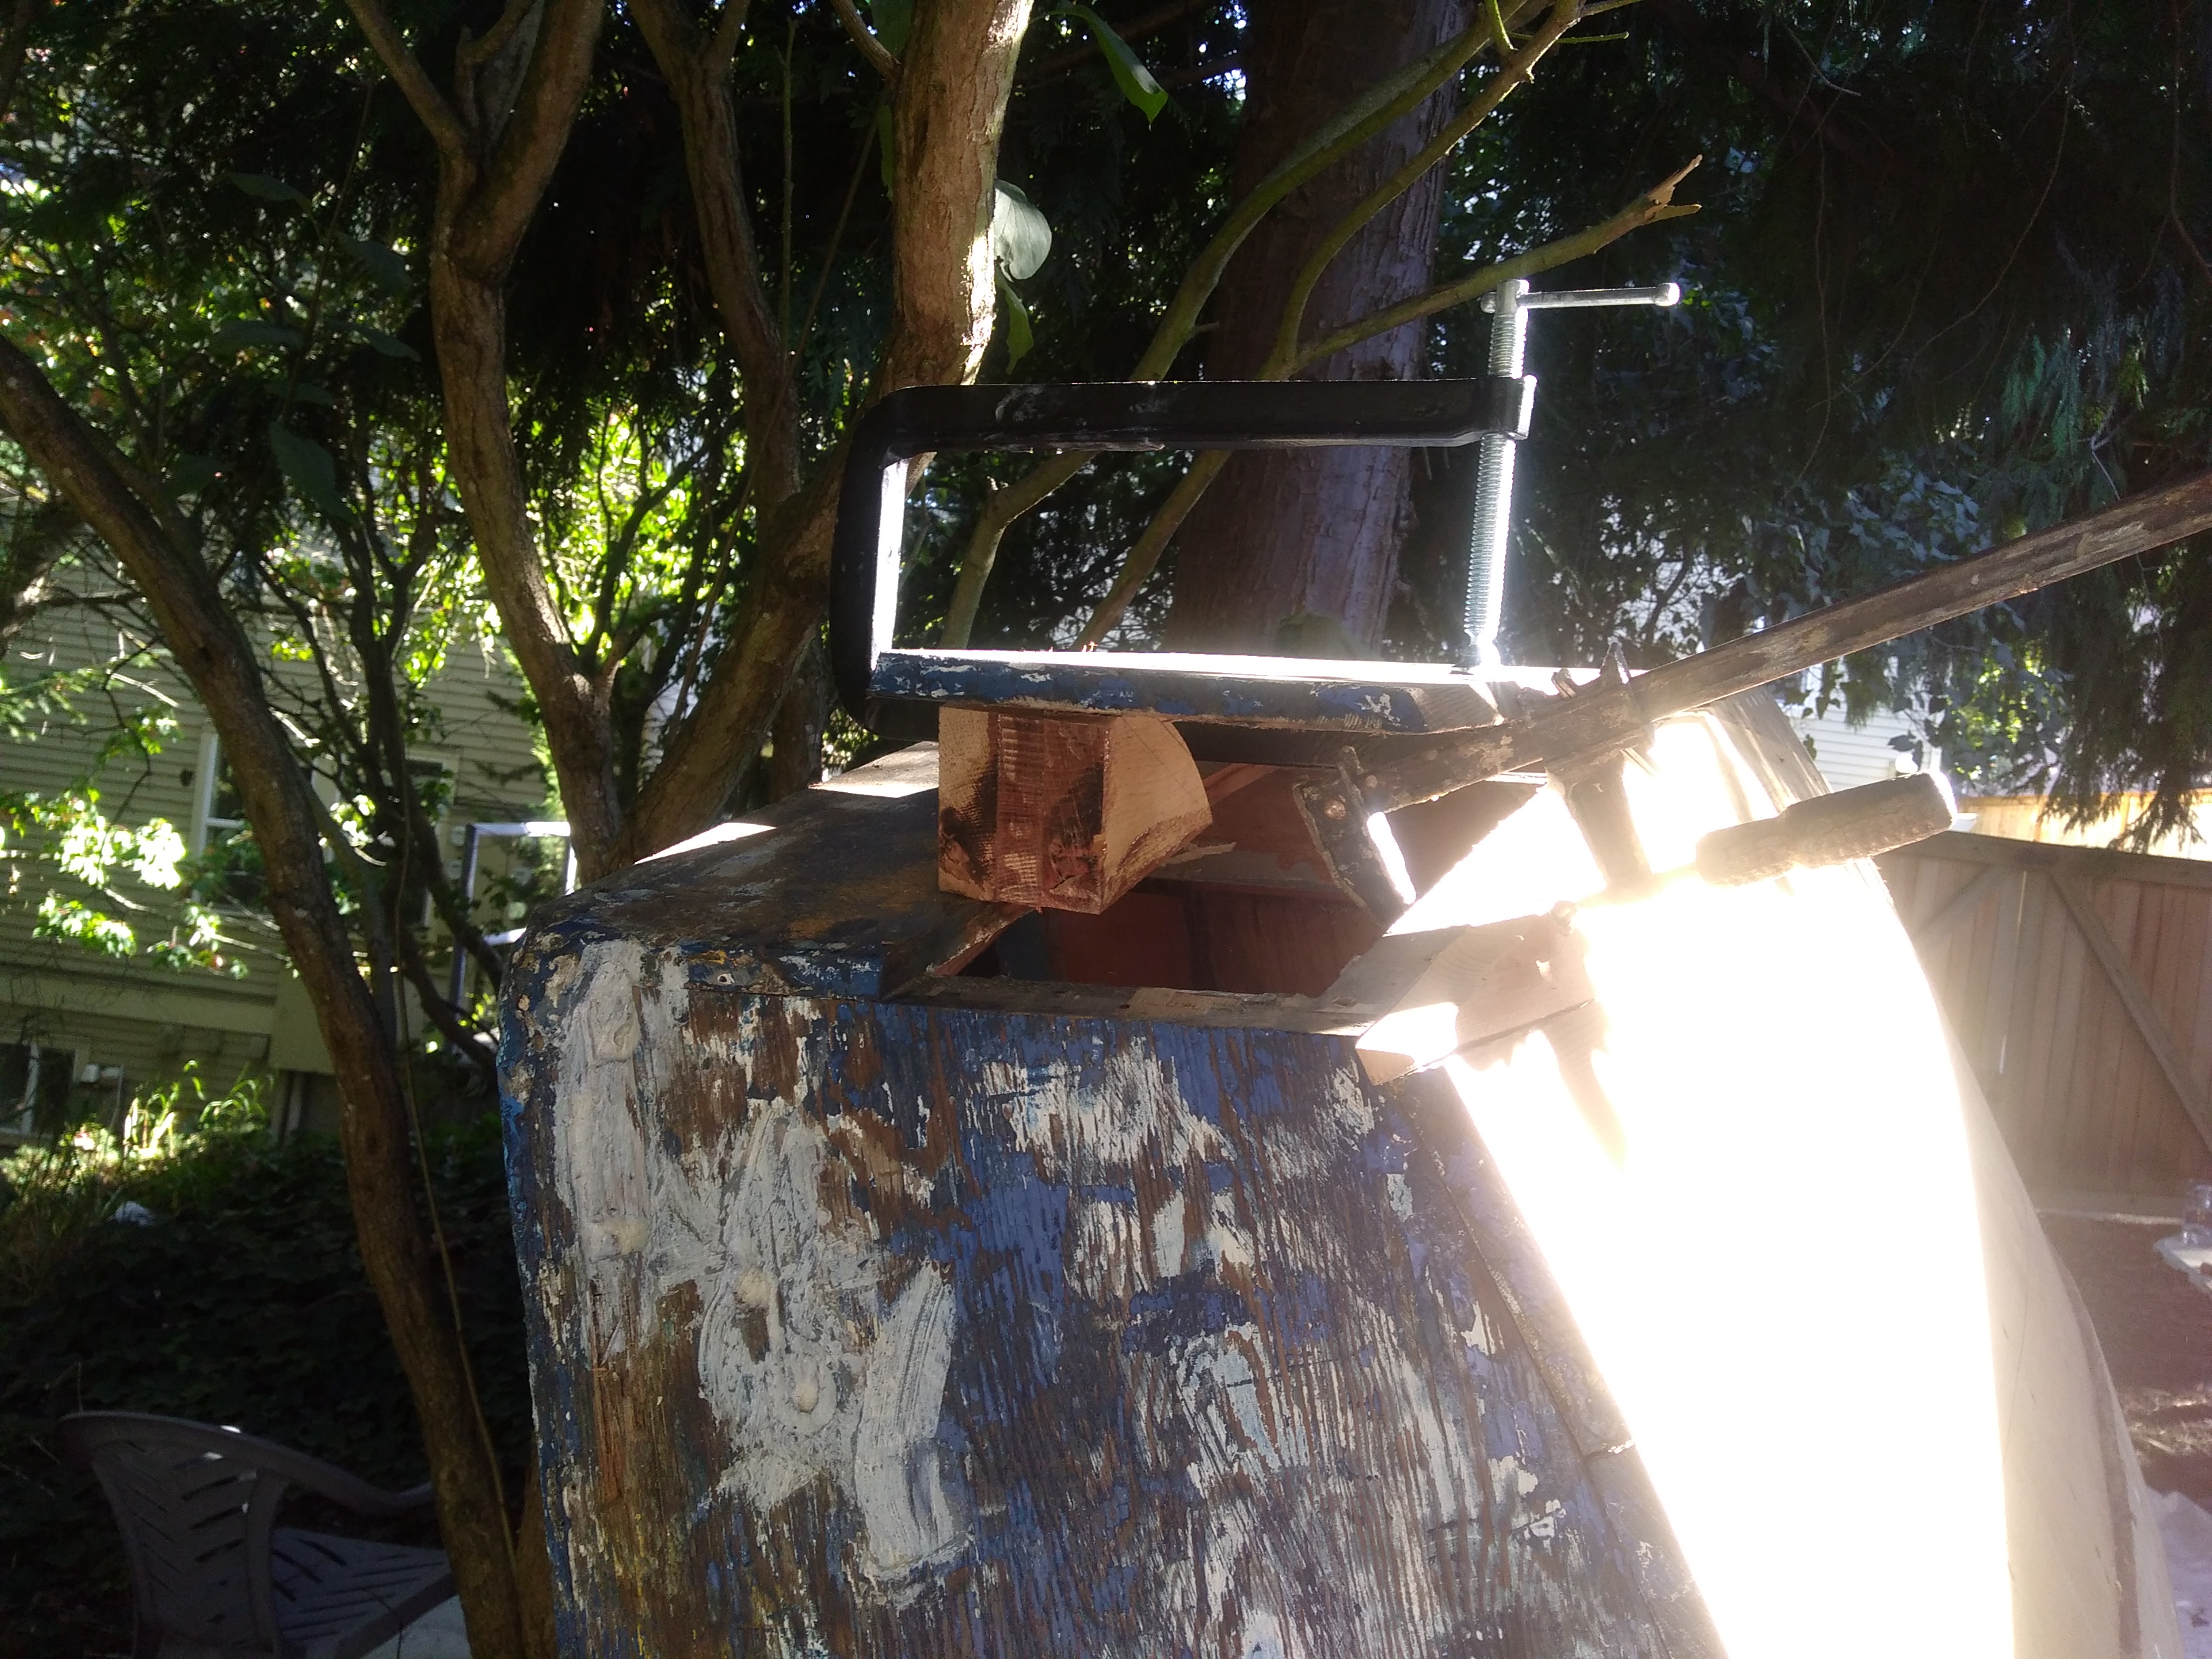
Once I got it three-quarters of the way back, I rough cut the aft end of the plank, and started whittling it down.
Here you can see how I had to fold these back together.
I also had to inject some epoxy into a split that I caused when I was springing the plank; hence the clamp on the side plank. In this shot, I’ve got it substantially carved back while the bottom plank is clamped to the chine log.
some more work, and some sanding with the fein multi-master…..
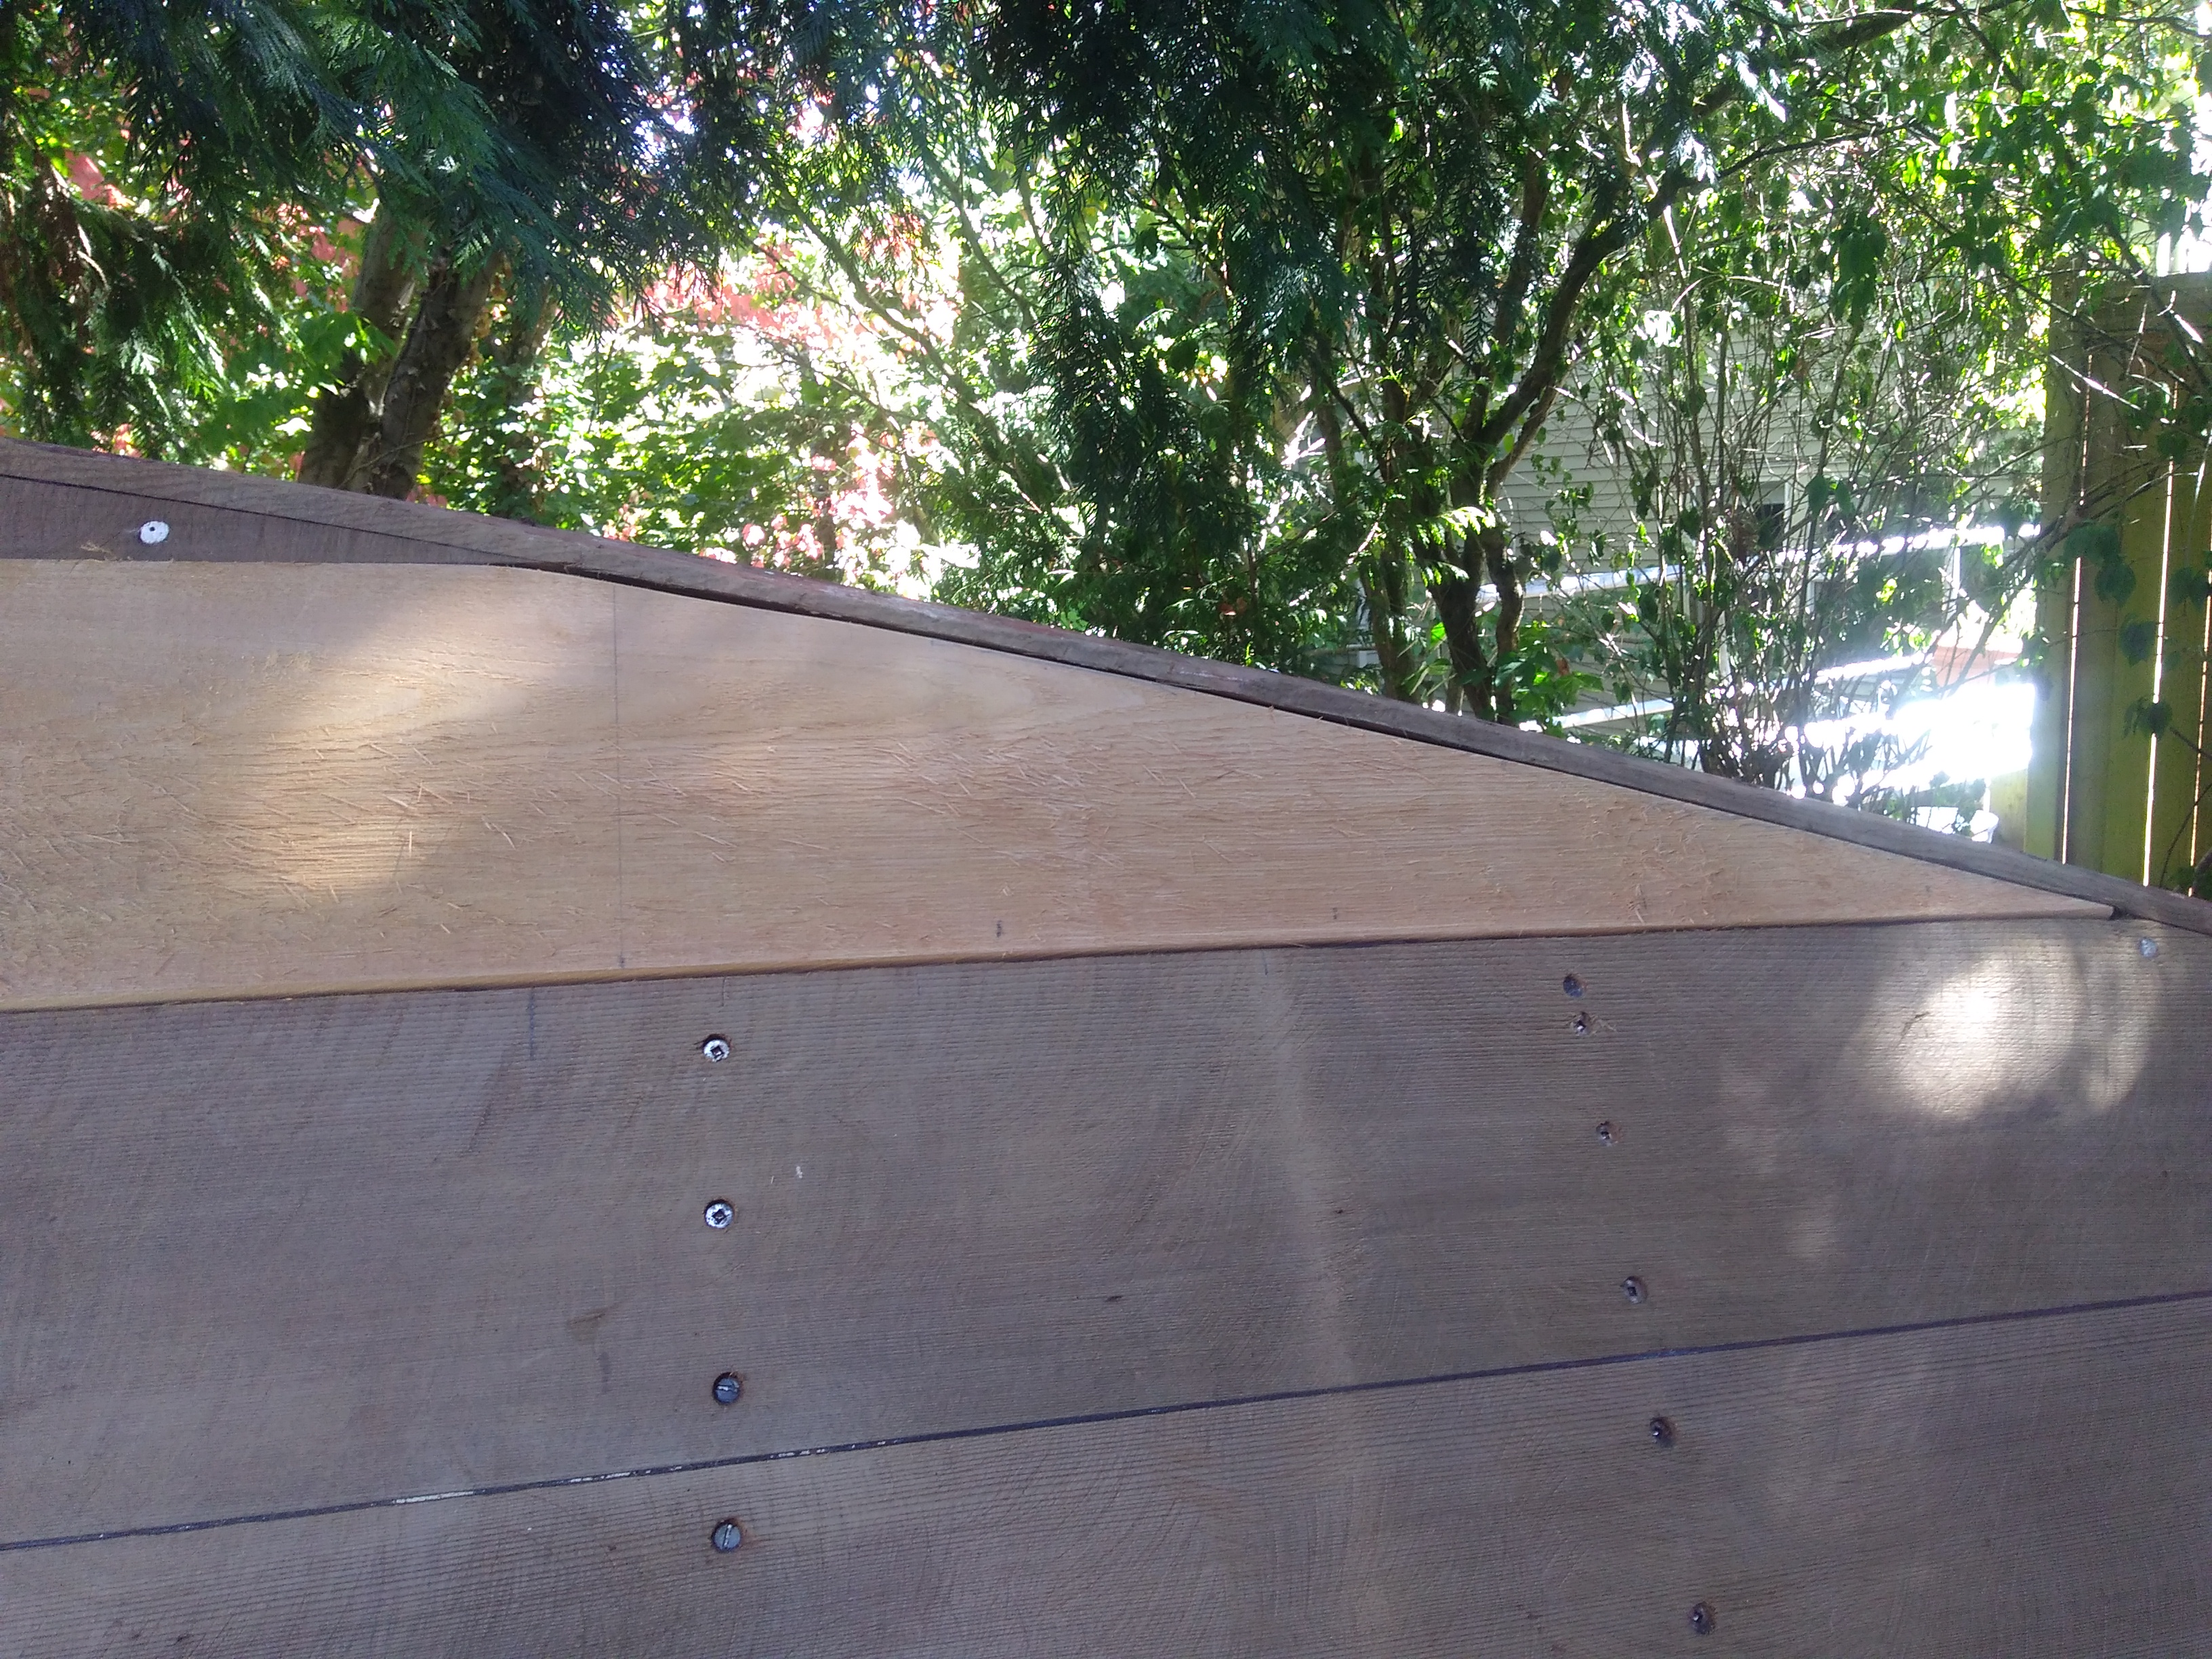
I then loaded up the chine log with polysulfide and screwed the bottom plank in.
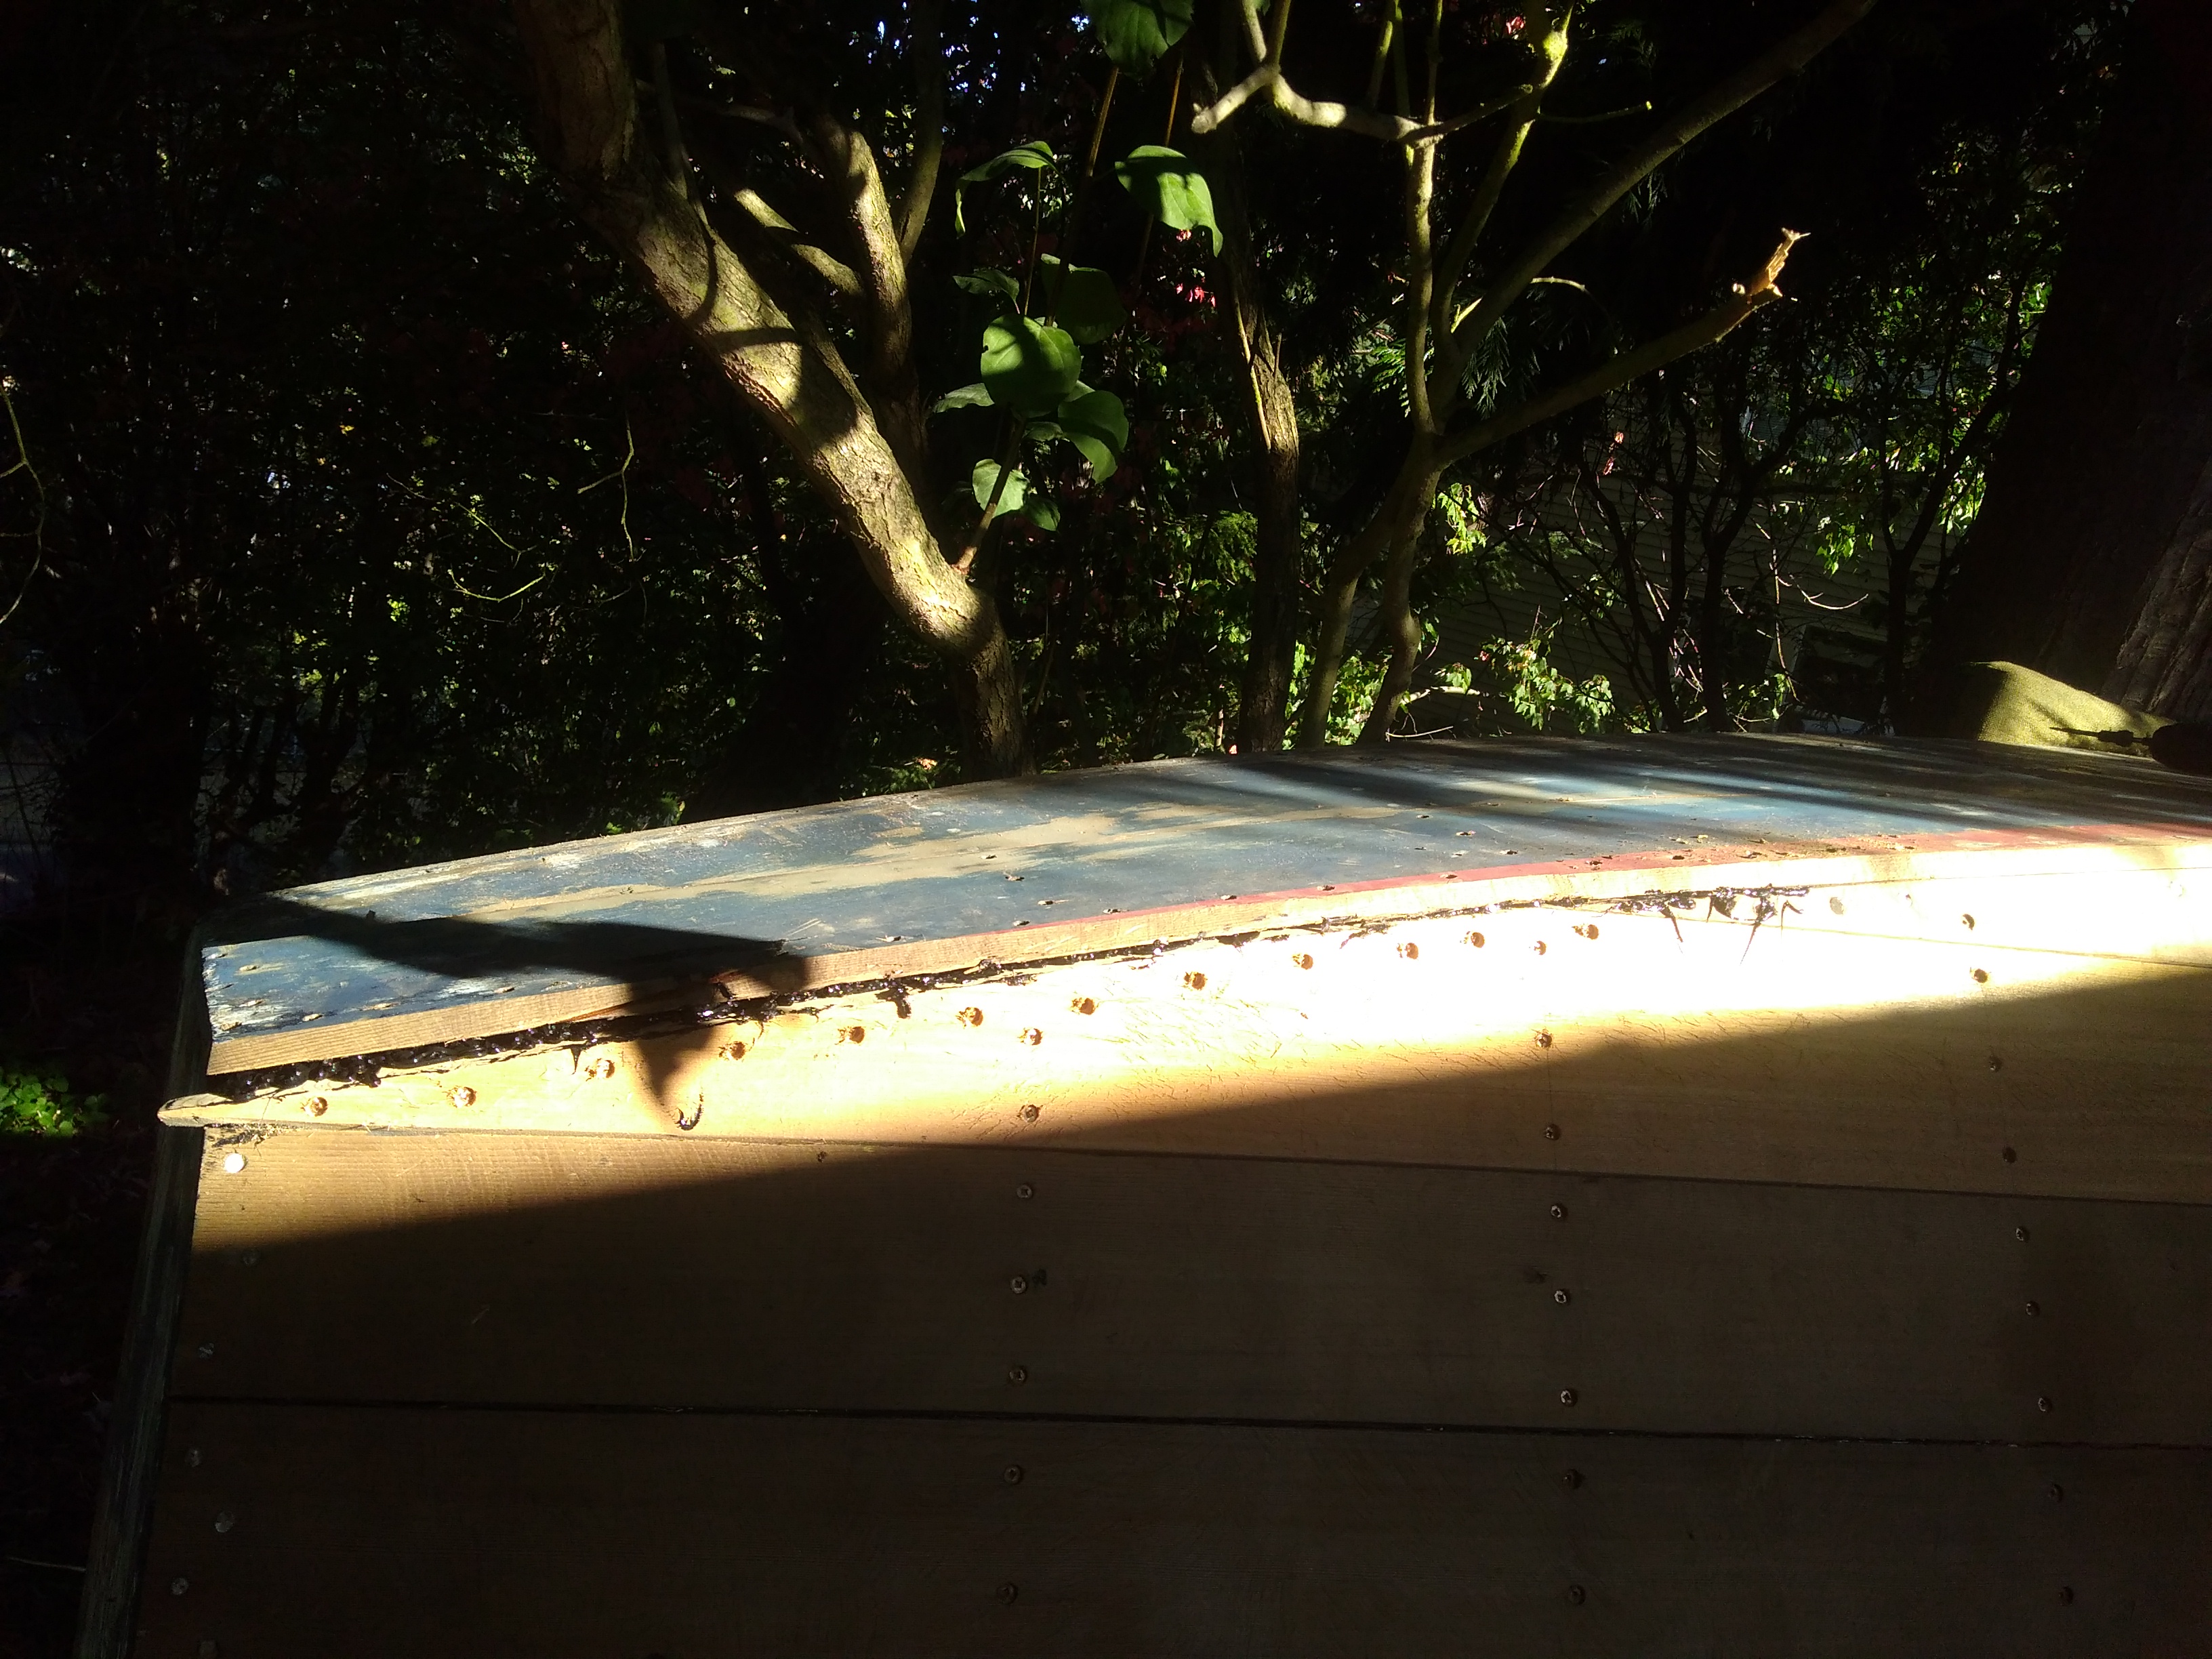
From there, I loaded up the side joint with polyulfide, and worked it in from front to back.

After that, I just had to trim that nib on the back and scrape the excess polysulfide off.
And there it is, one new plank in place of a split one.
John gives it two thumbs up.
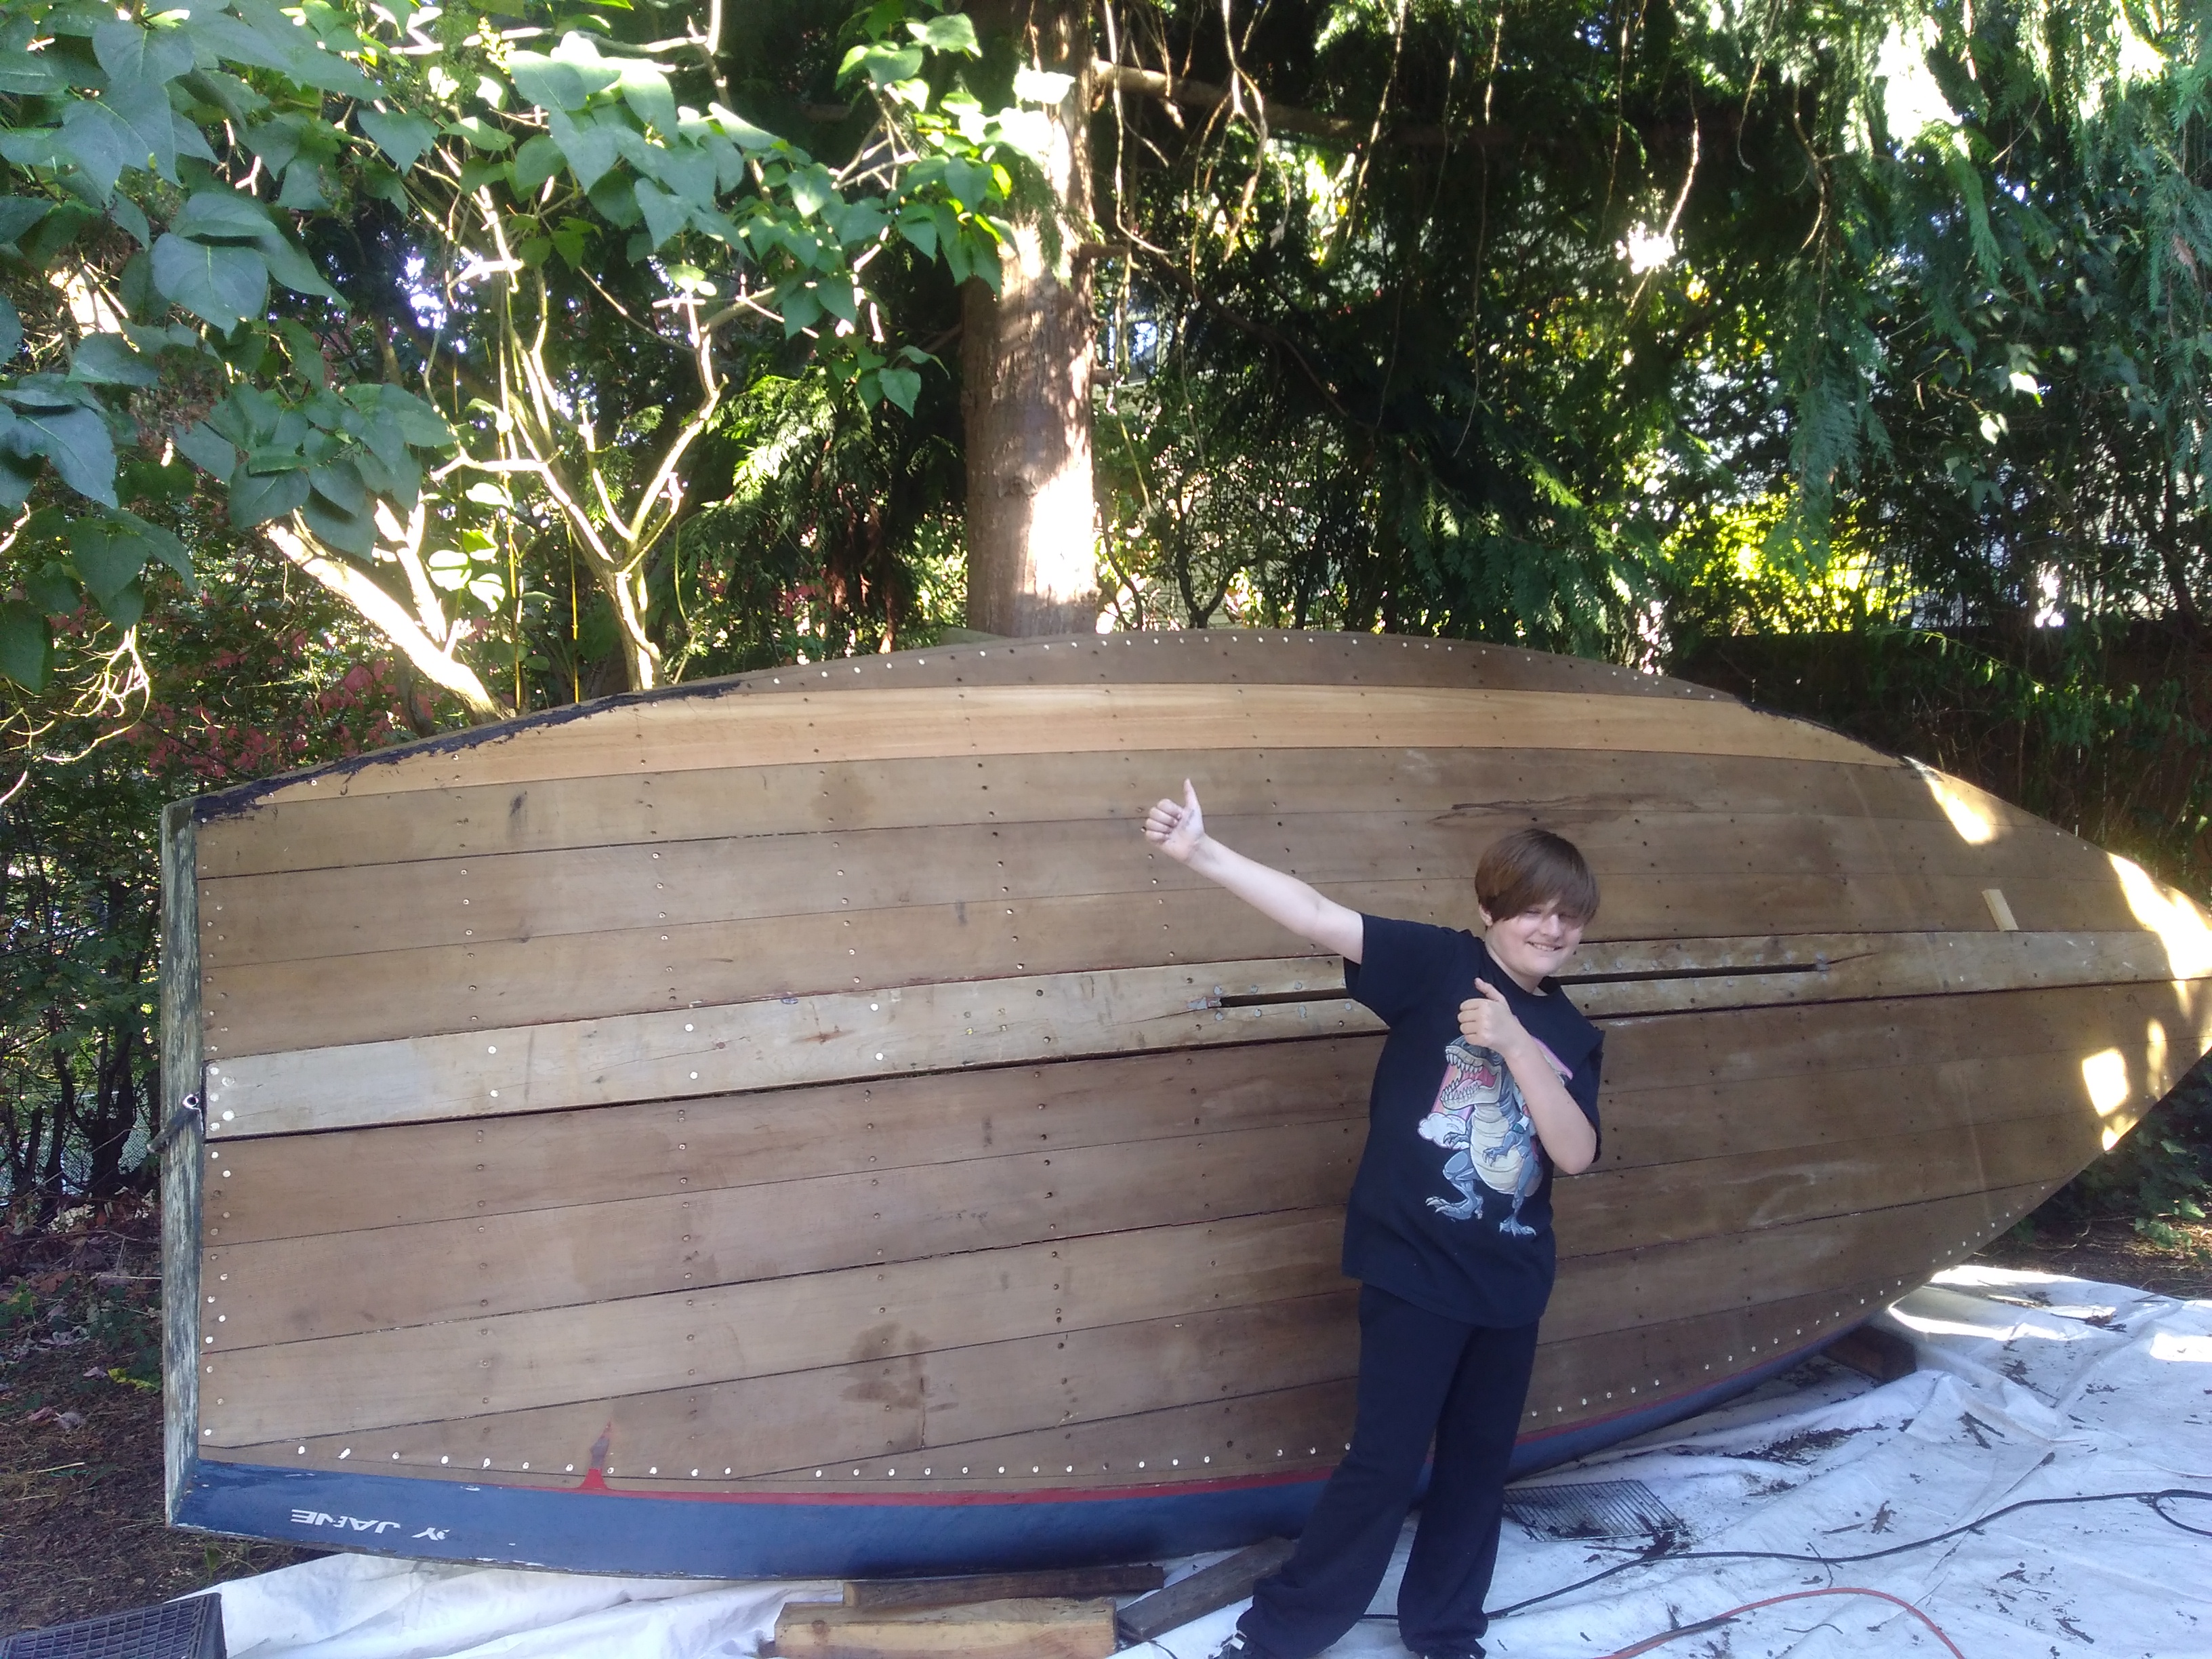
I really feel like i rounded a corner today. this was the one bit of repair that was making me nervous. I was worried that i’d screw things up while replacing the plank as this is a bit beyond my comfort and skill level in some regards. and if i did screw this up, the past year of work might have come to naught.
Happily, I’m ecstatic how well it turned out. it’s a huge weight off my shoulders. From here on out it is almost all paint and minor work that is almost all mirroring something else I’d already dome on some other part of the boat. Nothing from here on out should have any surprises or complicated work.
I might even get this thing done before the end of the fall!